Planning Your Chicken Coop Conversion
Converting a shed into a chicken coop is a practical and often cost-effective solution for providing a secure and comfortable home for your flock. This project involves careful planning, from assessing the shed’s suitability to designing the interior layout and ensuring the safety and well-being of your chickens. With the right approach, you can create a functional and attractive chicken coop that meets your chickens’ needs and enhances your backyard.
Assessing Your Shed’s Suitability
Before you begin transforming your shed, it’s crucial to assess its suitability. Not all sheds are ideal candidates, and a thorough evaluation will save you time and potential problems down the line. Consider factors such as the shed’s size, structural integrity, and existing features. This assessment will influence your design choices and the scope of your project.
Size and Space Considerations

The size of your shed directly impacts how many chickens you can comfortably house. As a general guideline, provide at least 4 square feet of floor space per chicken inside the coop. This allows for ample room for movement, roosting, and nesting. If you plan to keep a larger flock, ensure your shed offers sufficient space. Consider the height as well; chickens need enough headroom to move around without restriction.
Checking for Structural Integrity
Examine the shed’s structural components, including the foundation, walls, roof, and framing. Look for any signs of damage, rot, or instability. A structurally sound shed is essential for the safety of your chickens and will also withstand the elements. Repair or reinforce any weak areas before proceeding with the conversion. Addressing structural issues early prevents further damage and ensures the coop’s longevity.
Preparing the Shed
Once you’ve determined that your shed is suitable, the next step involves preparing it for its new purpose. This includes thorough cleaning, clearing out any unwanted items, and addressing ventilation and airflow needs. Proper preparation is crucial for creating a healthy and comfortable environment for your chickens, preventing the buildup of moisture and odors, and minimizing the risk of disease.
Cleaning and Clearing the Shed

Begin by removing everything from the shed. Then, thoroughly clean all surfaces to eliminate dirt, debris, and potential contaminants. A pressure washer can be helpful for this task, but ensure the shed is completely dry before proceeding. Consider using a disinfectant specifically designed for poultry to sanitize the interior. This step sets the foundation for a healthy environment.
Ventilation and Airflow Solutions
Proper ventilation is vital for controlling humidity, reducing odors, and maintaining air quality. Install vents, windows, or a combination of both to facilitate airflow. Ensure that the ventilation system allows for adequate air exchange without creating drafts. Consider adding a ridge vent along the roof or installing windows that can be opened for improved ventilation during warmer months. This helps prevent respiratory issues in your chickens.
Designing the Chicken Coop Interior
The interior design of your converted shed will directly impact your chickens’ comfort and well-being. This involves creating nesting boxes, building roosts, and selecting appropriate flooring and waste management solutions. Careful consideration of these elements will ensure your chickens have a functional and comfortable living space, encouraging laying and providing a safe place to sleep.
Creating Nesting Boxes

Nesting boxes provide a secure and private space for hens to lay their eggs. Position them in a quiet, dimly lit area of the coop. Nesting boxes should be easily accessible for egg collection. The ideal box dimensions depend on the size of your chickens, but generally, a box that is about 12 inches wide, 12 inches high, and 12-14 inches deep is suitable. Line the boxes with soft, clean bedding, such as straw, wood shavings, or hay.
Determining the Number of Boxes Needed
As a general rule, provide one nesting box for every three to four hens. This ensures that each hen has access to a nesting space, reducing competition and the likelihood of eggs being laid outside the boxes. If you have a large flock, you may need to build additional boxes to accommodate all your hens comfortably. Consider the size of your flock and plan accordingly.
Constructing the Boxes
Nesting boxes can be constructed from various materials, including wood, plywood, or repurposed containers. The key is to use materials that are durable, easy to clean, and free from sharp edges or splinters. Ensure the boxes are securely fastened to the coop walls or floor. Consider adding a small lip or overhang to the front of the boxes to prevent bedding from spilling out. The design should promote easy access and cleaning.
Building Roosts

Roosts are essential for providing chickens with a place to perch and sleep at night. They should be positioned at a height that is safe and comfortable for the chickens. Proper roost design is critical for the chickens’ foot health and overall well-being. The material, placement, and spacing all play crucial roles in a healthy coop environment.
Choosing the Right Roost Material
Choose a roost material that is comfortable for the chickens’ feet. Avoid using round poles, as these can make it difficult for the chickens to grip. Instead, use materials like smooth, planed lumber or branches that are 2-4 inches wide and have rounded edges. Ensure that the material is free from splinters and sharp edges to prevent injury. Consider the weight capacity of the roosting material.
Placement and Spacing of Roosts
Place roosts at a height that is accessible for your chickens, typically between 2 and 4 feet off the ground. Space the roosts far enough apart to prevent overcrowding, allowing each chicken ample space. Provide approximately 8-12 inches of roosting space per chicken. Position the roosts away from nesting boxes and feeders to minimize droppings in these areas. Consider the ease of cleaning when determining placement.
Flooring and Waste Management

The flooring and waste management system of your coop are essential for maintaining cleanliness and hygiene. Selecting appropriate flooring materials and implementing an effective waste disposal system will minimize odors, prevent the buildup of harmful bacteria, and make cleaning easier. This will contribute to a healthier environment for your chickens.
Selecting Flooring Materials
Choose flooring materials that are durable, easy to clean, and resistant to moisture. Options include concrete, wood, or a combination of materials. Concrete flooring is durable and easy to sanitize but can be cold in winter. Wood flooring is warmer but requires regular cleaning and maintenance. Covering the floor with a layer of bedding, such as wood shavings, straw, or sand, will also help to absorb moisture and odors.
Waste Disposal Options
Implement a waste disposal system to manage chicken droppings effectively. Options include a deep litter method, where a layer of bedding is allowed to decompose over time, or regular cleaning with removal of droppings. Consider installing a droppings board or tray beneath the roosts to collect waste. This helps to make cleaning easier and protects the flooring. Regular removal of droppings prevents the buildup of ammonia and other harmful gases.
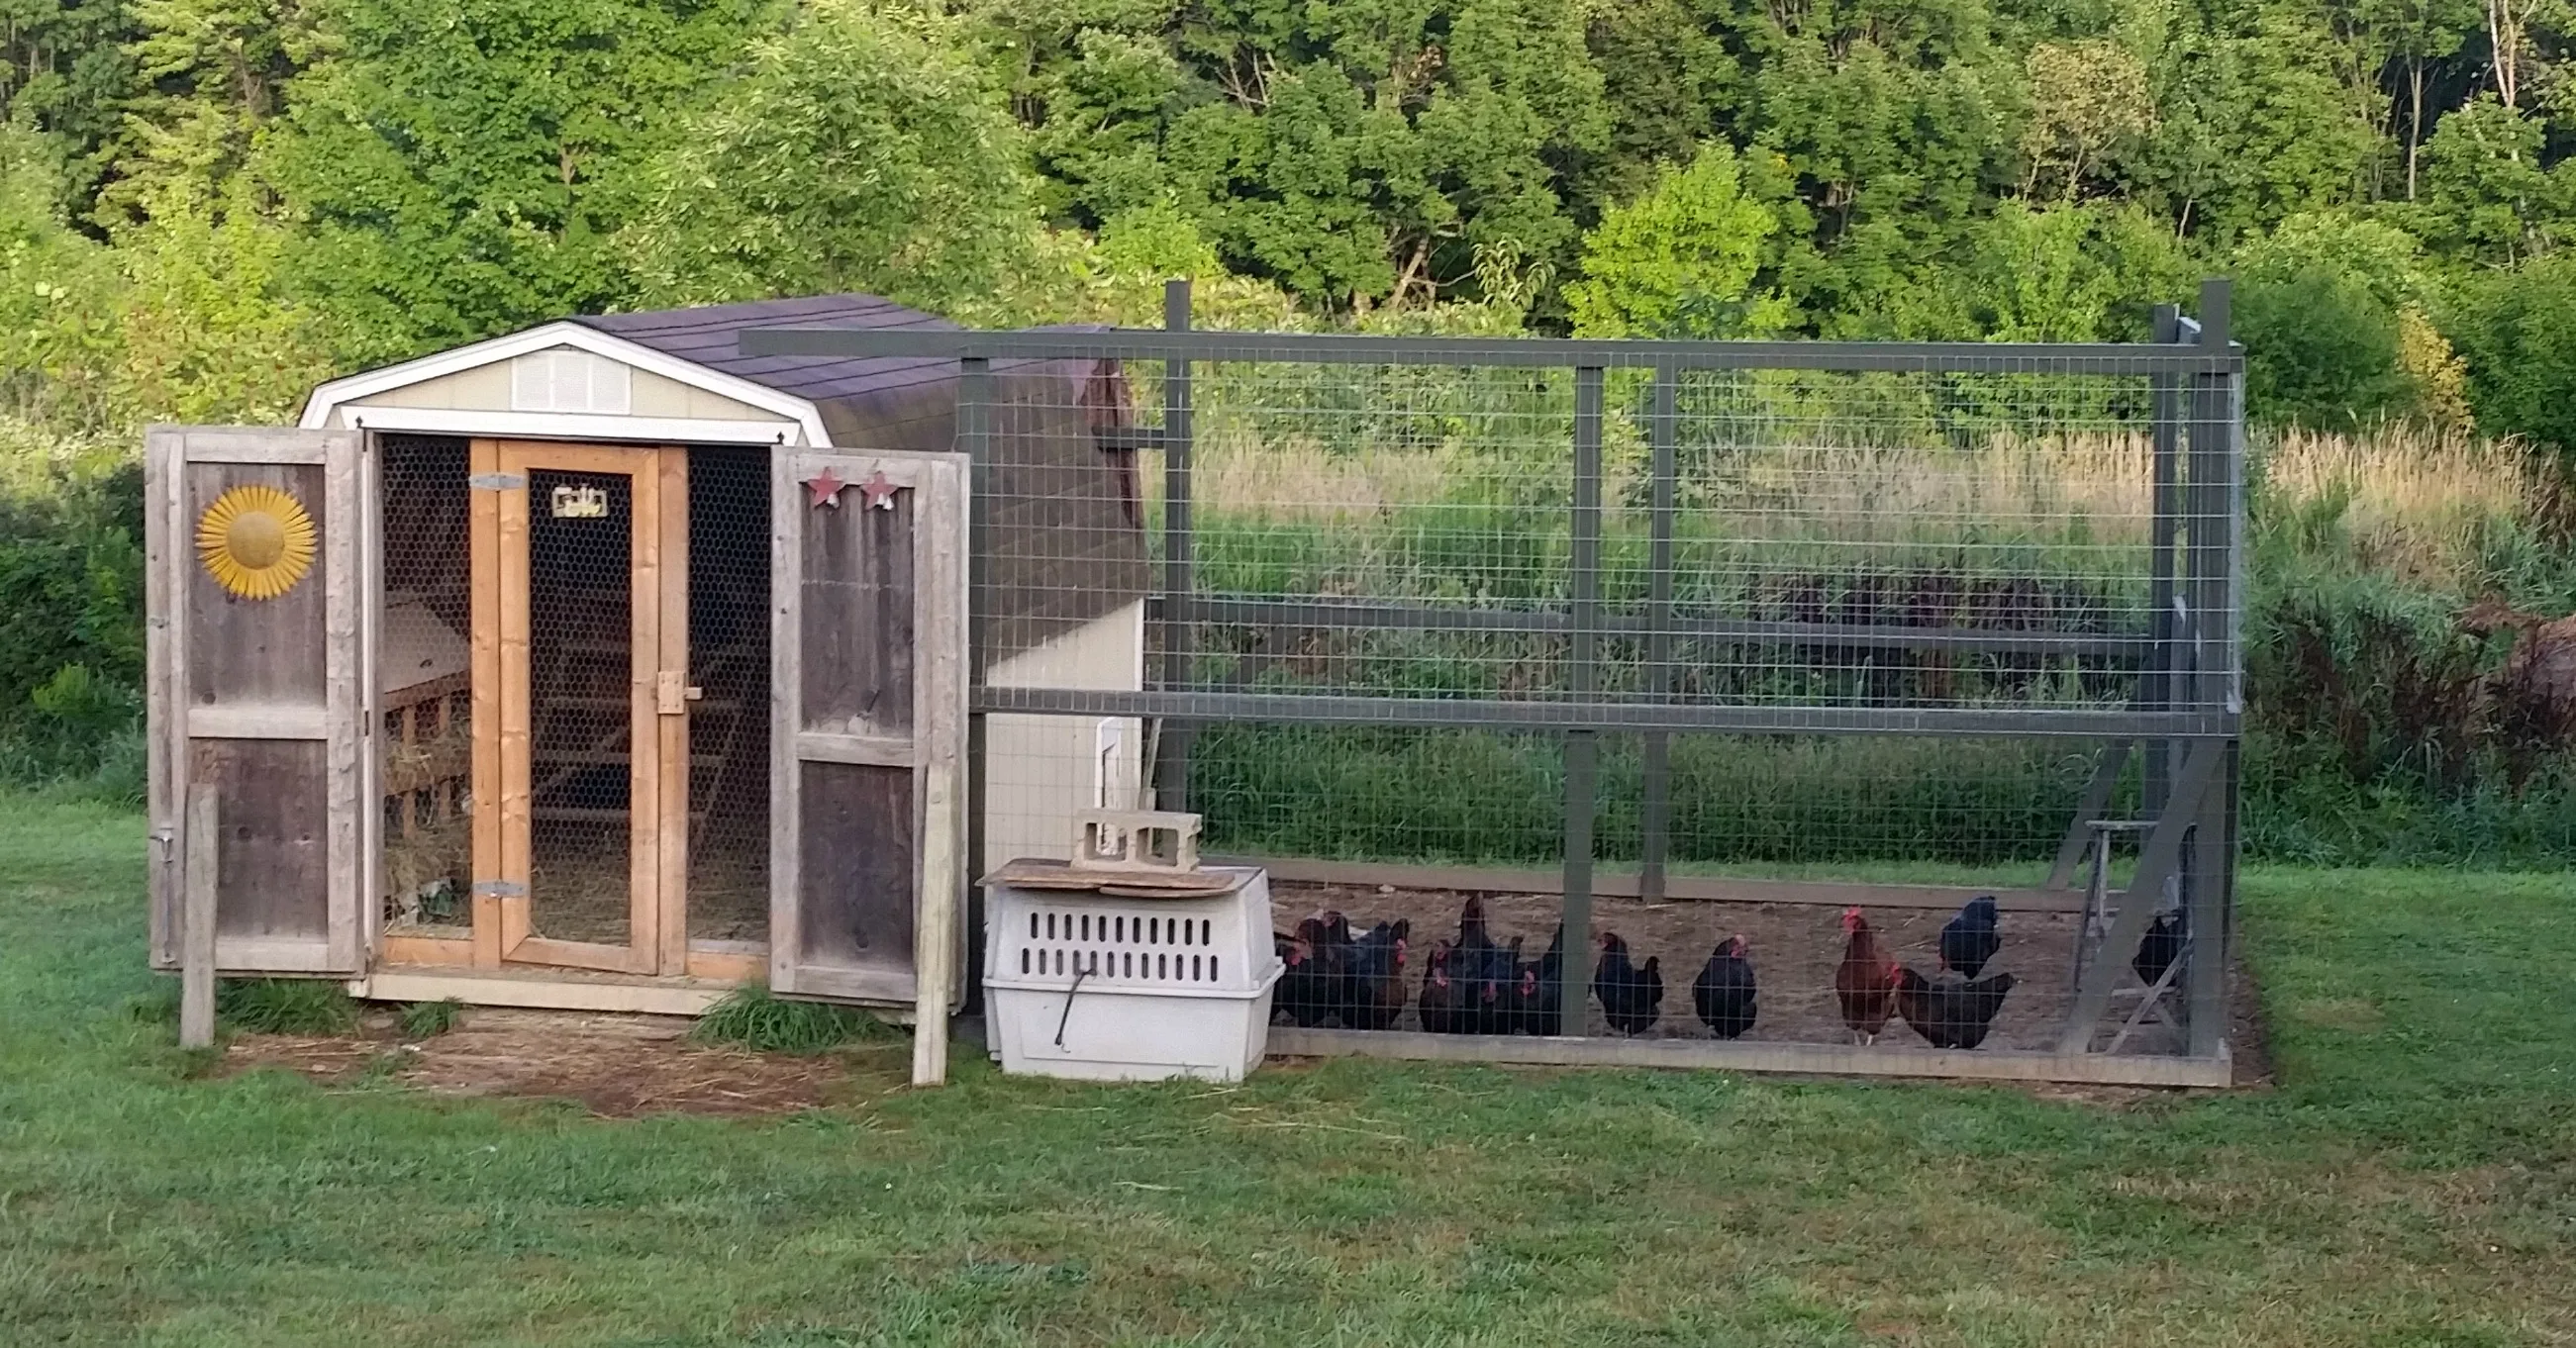
Ensuring Security and Safety

Protecting your chickens from predators is crucial for their safety. Implementing security measures will help to prevent attacks from predators such as foxes, raccoons, and hawks. Ensuring a safe environment will provide peace of mind and protect your investment in the flock.
Protecting Against Predators
Reinforce the shed’s structure with predator-resistant materials. Cover any openings with hardware cloth or sturdy wire mesh to prevent animals from entering. Bury the wire mesh around the perimeter of the coop to prevent digging predators from getting underneath. Use strong latches and locks on doors and windows to prevent them from being opened by curious animals. Consider adding a fence around the coop to further deter predators.
Securing Doors and Windows
Ensure all doors and windows are securely fastened and can’t be easily opened by predators. Use strong latches, bolts, and hinges. Cover windows with wire mesh to prevent entry. Regularly inspect doors and windows for any signs of damage or weakness, and repair or replace them as needed. Consider adding a small overhang to the door to protect the entrance.
Fencing and Run Considerations

Consider adding a fenced run area adjacent to the coop to provide chickens with a safe space to roam and forage. Use sturdy fencing materials, such as welded wire or chain-link, and bury the fencing to prevent predators from digging under. The size of the run depends on the number of chickens and the amount of space you have available. Provide shade and protection from the elements within the run.
Providing Water and Feed
Provide a constant supply of fresh water and nutritious feed. Having accessible resources will keep your chickens healthy and productive. The type and placement of feeders and waterers are essential factors to consider.
Choosing Feeders and Waterers
Select feeders and waterers that are durable, easy to clean, and designed to minimize waste and spillage. Consider the size of your flock and choose feeders and waterers that can adequately supply them with food and water. Automatic feeders and waterers can be a convenient option. Make sure the feeders are predator-proof to prevent unwanted animals from accessing the feed.
Placement and Accessibility
Place feeders and waterers in a location that is easily accessible to the chickens, but sheltered from the elements. Ideally, keep them away from the roosting area to prevent contamination. Ensure the feeders and waterers are placed at a height that is comfortable for the chickens to access. Regularly clean and refill the feeders and waterers to maintain hygiene and prevent the spread of disease.
Final Touches and Considerations
Adding finishing touches to the coop can significantly improve the aesthetics and comfort for the chickens. Paying attention to small details can enhance the overall appeal and functionality of the converted coop. Regular maintenance will ensure that the coop remains a safe and healthy environment for your flock.
Adding Aesthetics and Comfort
Enhance the coop’s aesthetics by painting the exterior or adding decorative elements. Inside, consider adding features that increase comfort for the chickens, such as a dust bath area or perches at varying heights. Ensure the coop offers good insulation to help maintain a comfortable temperature during both summer and winter months. Adding natural elements like a small tree inside or hanging herbs can also make the coop more appealing.
Landscaping around the Coop
Landscaping around the coop can create a more attractive backyard and also benefit the chickens. Consider planting native plants, shrubs, or bushes that provide shade and shelter. Create a small garden area where chickens can forage for treats. Ensure that all plants are non-toxic to chickens. A well-landscaped coop area creates a pleasant environment for both you and your chickens.
Regular Maintenance and Cleaning
Regular maintenance and cleaning are crucial for maintaining a healthy and sanitary environment for your chickens. Establishing a cleaning schedule and adhering to proper procedures will help prevent the buildup of waste, control odors, and minimize the risk of disease. Consistent care will ensure the longevity of the coop and the well-being of your flock.
Cleaning Schedule and Procedures
Establish a regular cleaning schedule. Daily tasks include removing droppings and checking water and feed levels. Weekly tasks include cleaning the nesting boxes and replenishing bedding. Perform a thorough cleaning of the entire coop monthly, removing all bedding, scrubbing surfaces, and disinfecting as necessary. This rigorous cleaning prevents the buildup of harmful bacteria and ensures that your chickens live in a healthy environment. Regular inspection and maintenance extend the coop’s lifespan and the health of your flock.