Choosing the Right Chicken Coop Plan for 6 Chickens
Building a chicken coop for six chickens is a rewarding project that provides fresh eggs and entertainment. However, the success of your venture hinges on choosing the right plan. This guide breaks down the key considerations, from space and climate to security and maintenance. Planning ahead ensures your chickens are safe, comfortable, and productive. Understanding these factors helps you create a coop that meets your needs and provides a happy home for your flock. Careful planning upfront saves time, money, and headaches down the road.
Factors to Consider Before Building
Before you even think about hammering a nail, take some time to consider several crucial factors. These considerations will significantly impact the design, materials, and overall success of your chicken coop project. Understanding these elements will help you avoid common pitfalls and ensure a smooth, efficient build.
Space Requirements

Chickens need adequate space to thrive. Crowding can lead to stress, feather pecking, and reduced egg production. As a general rule, provide at least 4 square feet of floor space per chicken inside the coop, and 8-10 square feet in the outdoor run area. Consider the breed of chicken; larger breeds might require more space. Think vertical space, too; chickens appreciate areas for roosting and perching. Ensure the coop is large enough to allow chickens to move around comfortably, and the run offers opportunities to forage and explore. Adequate space is essential for the well-being of your flock. (Image chicken-coop-space-requirements.webp)
Climate and Weather Conditions
Your local climate will dictate the coop’s design. In cold climates, insulation is critical to keep the chickens warm during winter. Consider double-walled construction, proper ventilation to prevent moisture buildup, and a south-facing orientation to capture sunlight. In hot climates, focus on ventilation to keep the coop cool. Shade is crucial, and light-colored roofing material can reflect heat. Protect the coop from strong winds and heavy rainfall, which can damage the structure. The coop should provide shelter from the elements year-round, adapting to your specific regional weather patterns.
Budget and Material Costs
Setting a realistic budget upfront is essential. Research the cost of materials like lumber, hardware cloth, roofing, and paint. Compare prices from different suppliers to find the best deals. Consider the tools you already own and those you may need to purchase or rent. Building a coop can range from a simple, inexpensive design to a more elaborate, costly structure. Factor in any additional costs, like predator-proofing measures, or automatic door openers. Stick to your budget, or be prepared to make design adjustments. Careful budgeting ensures the project stays on track.
Selecting the Ideal Chicken Coop Plan

Once you have a clear understanding of your needs and constraints, it’s time to choose a plan. Numerous options are available, from free online plans to professionally designed blueprints. Consider your experience level, the time you have available, and the complexity of the design. Selecting a plan that aligns with your skills and goals is crucial for a successful build. Take the time to examine several options before making your final decision, and make sure to get all necessary permits and approvals before you start building.
DIY vs. Pre-Built Options
Deciding between building your coop from scratch (DIY) or purchasing a pre-built coop is a key decision. DIY projects allow you to customize the design and save money. However, they require time, skills, and tools. Pre-built coops offer convenience and are often simpler to assemble. They can save time, but they might be less customizable and potentially more expensive. Assess your comfort level with woodworking, your available time, and your budget to choose the right option. Consider all pros and cons before making a decision (Image chicken-coop-diy-vs-prebuilt.webp).
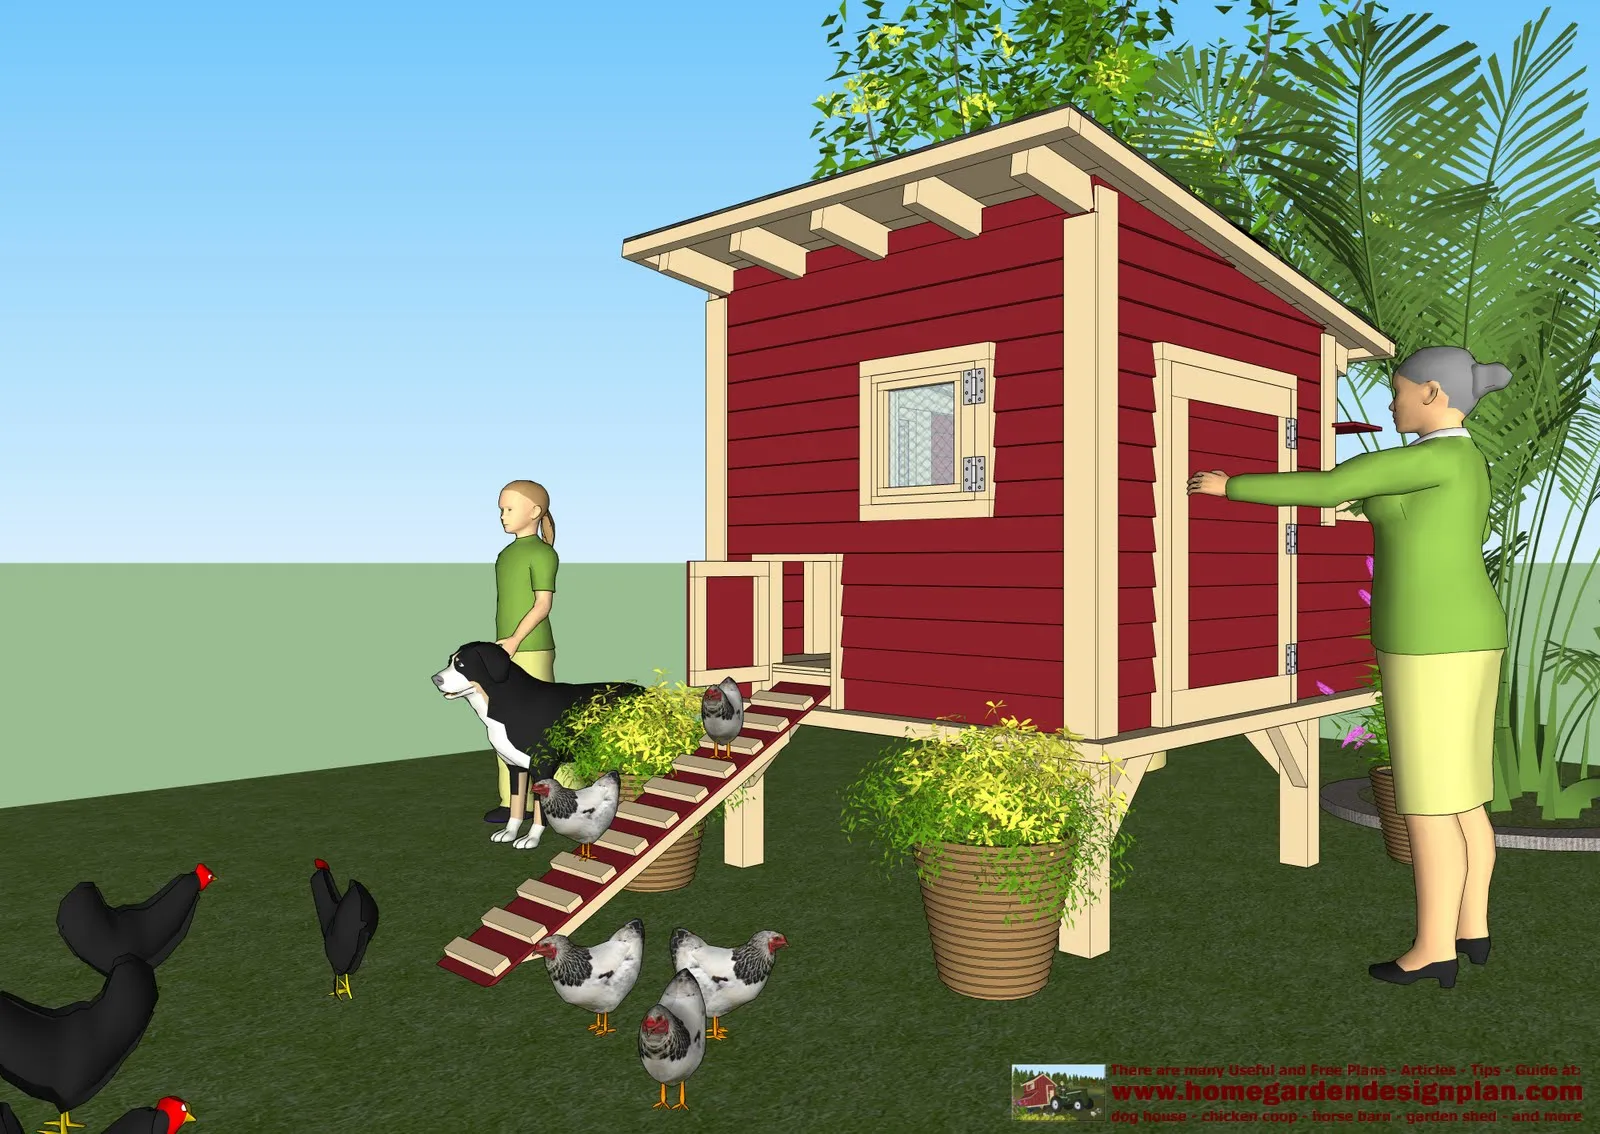
Popular Chicken Coop Designs for 6 Chickens
Several chicken coop designs are popular for a flock of six chickens. A-frame coops are simple, compact, and affordable, ideal for small backyards. The traditional shed-style coop offers more space and is easier to customize. A coop with an attached run provides secure outdoor access. Consider the overall aesthetic to match the look of your yard. Consider the size, security features, and ease of cleaning when selecting a design. Review multiple plans and designs to get inspiration and ideas.
Coop Materials

The choice of materials impacts the coop’s durability, cost, and appearance. Lumber is the most common material for framing and siding. Choose rot-resistant wood like cedar or redwood, or treat the lumber. Use hardware cloth (not chicken wire) for the run to prevent predator access. Select durable roofing materials, such as asphalt shingles, metal, or wood shakes, depending on the climate. Use non-toxic paints and finishes. Consider the overall cost, durability, and safety when choosing materials. Choosing quality materials will improve the longevity and reduce maintenance.
Step-by-Step Guide to Building Your Chicken Coop
With a plan in hand and materials gathered, it’s time to build. Following these steps carefully ensures a sturdy, safe, and comfortable coop for your chickens. Take your time, measure twice, and cut once. Don’t hesitate to seek help if you need it, and don’t rush the construction process. Consider the build as an enjoyable challenge rather than a tedious chore. (Image chicken-coop-plans-overview.webp)
Preparing the Site
Choose a level location that provides good drainage and some sun and shade. Clear the area of any vegetation, rocks, and debris. Consider the position of the coop relative to your house, neighbors, and prevailing winds. Mark the perimeter of the coop according to the plans. You may also want to add a perimeter fence for extra protection. Ensuring a solid and appropriate site will have an immediate impact to your overall project and flock’s living conditions (Image chicken-coop-site-preparation.webp).
Foundation and Base Construction

A solid foundation provides stability and helps prevent rot. You can use several types of foundation, from a simple wooden frame to a concrete slab. If you build directly on the ground, consider using treated lumber or a gravel base to improve drainage. Ensure the foundation is level and square. Build the base of the coop according to your chosen plan, attaching the framing to the foundation. Proper foundation work sets the stage for a sturdy coop.
Building the Coop Frame and Walls
Erect the frame of the coop, following the plan. Attach the walls to the frame, using screws or nails. Ensure the walls are plumb and square. The walls should provide adequate protection from the elements. Add windows and doors frames. Consider using siding to improve weather resistance and the overall appearance. A solid frame and walls are critical to the structure’s integrity and your chickens’ safety.
Roofing and Weatherproofing
Install the roof, ensuring proper overhangs to protect the walls from rain. Choose a roofing material appropriate for your climate. Seal any seams and joints to prevent leaks. Ensure the roof is securely attached. Weatherproofing includes caulking and sealing gaps, adding insulation, and choosing exterior-grade materials. Proper roofing and weatherproofing are essential for keeping the coop dry, warm, and comfortable for the chickens.
Adding Doors Windows and Ventilation

Install doors and windows, ensuring they are secure and easy to open and close. Consider including a ramp for chicken access. Add ventilation openings, such as vents or windows, to promote airflow and reduce moisture buildup. Secure all openings with hardware cloth to prevent predators. Well-placed doors, windows, and ventilation features enhance the coop’s functionality and the health of your flock.
Creating the Interior Chicken Coop Space
The interior design significantly impacts the comfort and productivity of your chickens. Consider the following key elements, including nesting boxes, roosting bars, and proper lighting and ventilation, when designing the inside of the coop. Optimize the interior space to meet the needs of your flock, ensuring they have a safe and comfortable environment to thrive (Image chicken-coop-interior-design.webp).
Nesting Boxes Design and Placement
Provide one nesting box for every 3-4 hens. Nesting boxes should be in a dark, quiet, and private location. They should be easy for the chickens to access. Line the boxes with soft bedding materials, such as straw, wood shavings, or hay. Proper nesting box design reduces egg breakage and encourages laying. Ensure enough space within boxes for easy use. Make sure to include areas that are easily accessible for cleaning.
Roosting Bars Placement and Design

Roosting bars provide a place for the chickens to sleep. Position the roosting bars at a height that allows the chickens to easily jump. The bars should be slightly elevated from the floor. Provide 8-12 inches of roosting space per chicken. Consider the number of chickens you own when determining the total space needed. Make sure the roosting bars are easy to clean. Choose smooth, rounded bars, preferably made of wood, which is most comfortable for the chickens to perch on.
Providing Ventilation and Lighting
Adequate ventilation removes moisture, ammonia, and odors from the coop. Proper ventilation helps to keep your chickens healthy. Install vents near the roof and avoid drafts. Provide natural lighting through windows, but make sure windows are protected and secure. Artificial lighting can extend the laying season during winter months. Ensure the chicken coop has a balance of fresh air and light to keep your flock productive.
Ensuring Chicken Coop Security
Protecting your chickens from predators is paramount. Careful planning and implementing effective security measures are essential for the safety of your flock. Consider several factors and approaches to fortify your coop against potential threats. Secure your chickens by reinforcing all vulnerable points with proper materials and practices.
Predator-Proofing Techniques

Use hardware cloth with small openings on all exposed areas, including windows and vents. Bury hardware cloth around the perimeter of the coop to prevent digging predators. Secure all doors and windows with sturdy latches and locks. Eliminate any potential entry points, such as gaps or holes. Keep the area around the coop clean and free of brush or debris to reduce hiding places for predators. Regularly inspect the coop for signs of breaches or damage. Predator-proofing helps guarantee that your chickens are safe from harm. (Image chicken-coop-predator-proofing.webp)
Securing Doors and Windows
Use strong, secure latches on all doors and windows. Consider using barrel bolts, carabiner clips, or other mechanisms that are difficult for predators to manipulate. Reinforce the door frames and window frames with sturdy materials. Regularly check the latches and locks to ensure they are working properly. Make sure to create a routine. Routine checks on doors and windows prevent any potential entry points for predators and help keep the chickens safe.
Maintaining and Cleaning Your Chicken Coop
Regular maintenance and cleaning are crucial for the health and happiness of your chickens. A clean coop reduces the risk of disease, controls odors, and extends the life of the structure. Create a cleaning schedule. Consistent maintenance is a simple, yet highly effective approach to maintaining a healthy flock (Image chicken-coop-cleaning.webp).
Daily Weekly and Monthly Cleaning Tasks
Daily, collect eggs, provide fresh water and food, and spot-clean any soiled areas. Weekly, clean the nesting boxes and replace bedding. Remove any droppings. Monthly, perform a thorough cleaning of the entire coop, removing all bedding and washing down the surfaces with a safe cleaner. Also disinfect the coop, and check for any signs of pests or illness. A consistent cleaning schedule is essential for the health of your flock.
Waste Management and Disposal
Properly manage chicken waste to control odors and prevent the spread of disease. Compost the waste for use in your garden, if local regulations allow. Dispose of waste according to local ordinances. Regularly clean up any spilled food or water. Effective waste management keeps the coop clean and healthy. Consistent efforts in waste management and disposal ensure a clean and safe environment for both your chickens and your surroundings.
Troubleshooting Common Problems
Even with careful planning, you might encounter some problems. Be prepared to address them quickly and effectively. If you are encountering problems such as behavioral issues, predator attacks, or health concerns, don’t hesitate to consult an expert. Be attentive to your chickens and address any issues as soon as they arise. Addressing problems quickly will guarantee a happy and healthy flock.