Building your own chicken coop can be a rewarding experience, providing fresh eggs and the joy of raising your own flock. However, successful coop construction starts with well-thought-out chicken coop plans. This guide walks you through the essential steps, from selecting the right plans to the final touches, ensuring a safe, comfortable, and functional home for your chickens. Following these plans will not only make the process easier, but it also reduces the chances of making errors.
Choosing Your Chicken Coop Plans
Selecting the right chicken coop plans is the first and arguably most crucial step. The ideal plan should align with your specific needs, the number of chickens you intend to keep, and the available space in your backyard. There’s a vast array of chicken coop plans available, ranging from simple, beginner-friendly designs to more elaborate, multi-functional structures. Consider the style and size that complements your property while ensuring the chickens’ health and safety are prioritized. Carefully review the details and choose the plans that you think best suit your needs.
Considerations Before Building
Before you begin construction, several factors need careful consideration. These factors ensure you’re prepared for the project and comply with local regulations, ensuring a smooth building process. Addressing these issues at the onset prevents potential setbacks and ensures your coop meets all necessary requirements.
Space Requirements

Determining the necessary space is crucial for your chickens’ well-being. Chickens need enough room to move around, roost, and lay eggs comfortably. A general guideline is to provide at least 4 square feet of space per chicken inside the coop and 8-10 square feet per bird in the run. Overcrowding can lead to stress, disease, and behavioral issues like feather pecking. Evaluate your space and the number of chickens you intend to keep to determine the appropriate size of the coop and run. (chicken-coop-plans-space.webp)
Local Regulations and Permits
Before starting construction, check your local ordinances and homeowner’s association (HOA) rules. Many areas have regulations regarding coop size, placement, and permitted materials. Some may require permits for building a structure of a certain size, and there may be restrictions on the number of chickens you can keep. Ensure you understand and comply with all relevant regulations to avoid fines or having to make costly modifications to your coop. Contact your local zoning department or HOA for specific requirements.
Choosing the Right Materials
The materials you choose for your chicken coop significantly impact its durability, safety, and longevity. Selecting the right materials ensures your coop can withstand the elements, protect your chickens from predators, and provide a comfortable living environment. Investing in quality materials will pay off in the long run, reducing maintenance and replacement costs. (chicken-coop-plans-materials.webp)
Wood Types

Wood is the most common material for chicken coop construction. When choosing wood, consider its resistance to rot, insects, and moisture. Pressure-treated lumber is a good option for the coop’s base, where it will be in contact with the ground. For the walls and roof, cedar or redwood are excellent choices due to their natural resistance to decay and insects. Avoid using chemically treated wood inside the coop, as the chemicals can be harmful to chickens. Ensure that the wood is smooth, with no splinters, and properly sealed or painted to protect it from the elements.
Hardware and Fasteners
Use high-quality hardware and fasteners to ensure the structural integrity and longevity of your coop. Galvanized or stainless-steel screws, nails, and hinges are recommended because they resist rust and corrosion. Choose sturdy latches and locks to secure doors and windows, keeping predators out. Use wire mesh with small openings for the run to prevent predators from entering. Inspect all hardware regularly and replace any that show signs of wear or damage.
Essential Tools
Having the right tools makes building your coop much easier and more efficient. You’ll need basic tools such as a saw (circular saw, hand saw, or reciprocating saw), a drill, a level, a measuring tape, a hammer, and a screwdriver. Other helpful tools include a staple gun for attaching wire mesh, a sander for smoothing wood surfaces, and safety equipment such as safety glasses and gloves. Make sure your tools are in good working order before you start. (chicken-coop-plans-tools.webp)
Step-by-Step Building Guide

Follow the chosen chicken coop plans closely during construction. This section provides a simplified, step-by-step guide to the building process, however, always refer to your specific plans for detailed instructions. Correct construction ensures structural integrity and a safe environment for your chickens.
Preparing the Site
Clear the area where you plan to build your coop, removing any grass, rocks, or debris. Level the ground to provide a stable base. Consider adding a layer of gravel or paving stones to prevent mud and improve drainage. If you’re building a coop with a floor, ensure it is level. If building directly on the ground, consider adding a wire mesh skirt around the perimeter to prevent predators from digging under the coop. This initial step sets the foundation for the rest of the construction.
Building the Coop Frame
Construct the frame of the coop according to your plans, using the appropriate wood and fasteners. Ensure that all corners are square and that the frame is level. The frame provides the structural support for the walls, roof, and floor. Using a level and square ensures the coop’s stability. If your plans include a raised floor, attach the floor joists to the frame. (chicken-coop-plans-frame.webp)
Constructing the Walls and Roof

Once the frame is complete, attach the walls and roof. Use the appropriate materials, such as plywood, siding, or planks, for the walls. Ensure that the walls are securely attached to the frame, with no gaps that could let in drafts or predators. For the roof, follow the plan’s instructions for the type of roofing material, whether it’s shingles, metal, or another option. Proper installation of the roof is essential for protecting your chickens from the weather.
Installing Doors and Windows
Install doors and windows, making sure they fit properly and can be securely closed. Doors should be sturdy and well-hinged, with a secure latch to keep predators out. Windows are essential for ventilation and natural light, but they must also be secure. Cover windows with wire mesh or hardware cloth to prevent predators from entering while allowing airflow. Weatherstrip the doors and windows to minimize drafts.
Building the Chicken Run
The chicken run is a vital part of the coop, providing a safe and enclosed outdoor space for your chickens. It should be large enough to allow chickens to forage, scratch, and exercise. Proper design and construction of the run are crucial for keeping chickens safe from predators and providing them with a stimulating environment. (chicken-coop-plans-run.webp)
Run Design and Materials

The run’s design can vary depending on your space and preferences, but it should be enclosed on all sides and the top. Use sturdy materials, like pressure-treated wood for the frame and hardware cloth or welded wire mesh for the walls and roof. Consider burying the mesh several inches underground to prevent predators from digging under the run. Ensure that the mesh openings are small enough to prevent predators from entering, but large enough to allow for adequate ventilation and light.
Securing the Run
Securing the run is essential for protecting your chickens from predators. Make sure that all the connections are tight and that the mesh is securely attached to the frame. Check for any gaps or weak spots where predators could gain access. Consider adding a top to the run to protect the chickens from aerial predators. Regular inspection of the run and immediate repairs are crucial for maintaining its security.
Adding Features
Adding various features will enhance the functionality and comfort of your coop. These features should be implemented according to your chicken coop plans, however, they can be customized depending on your specific needs. Thoughtful additions can greatly improve your chickens’ quality of life.
Nesting Boxes

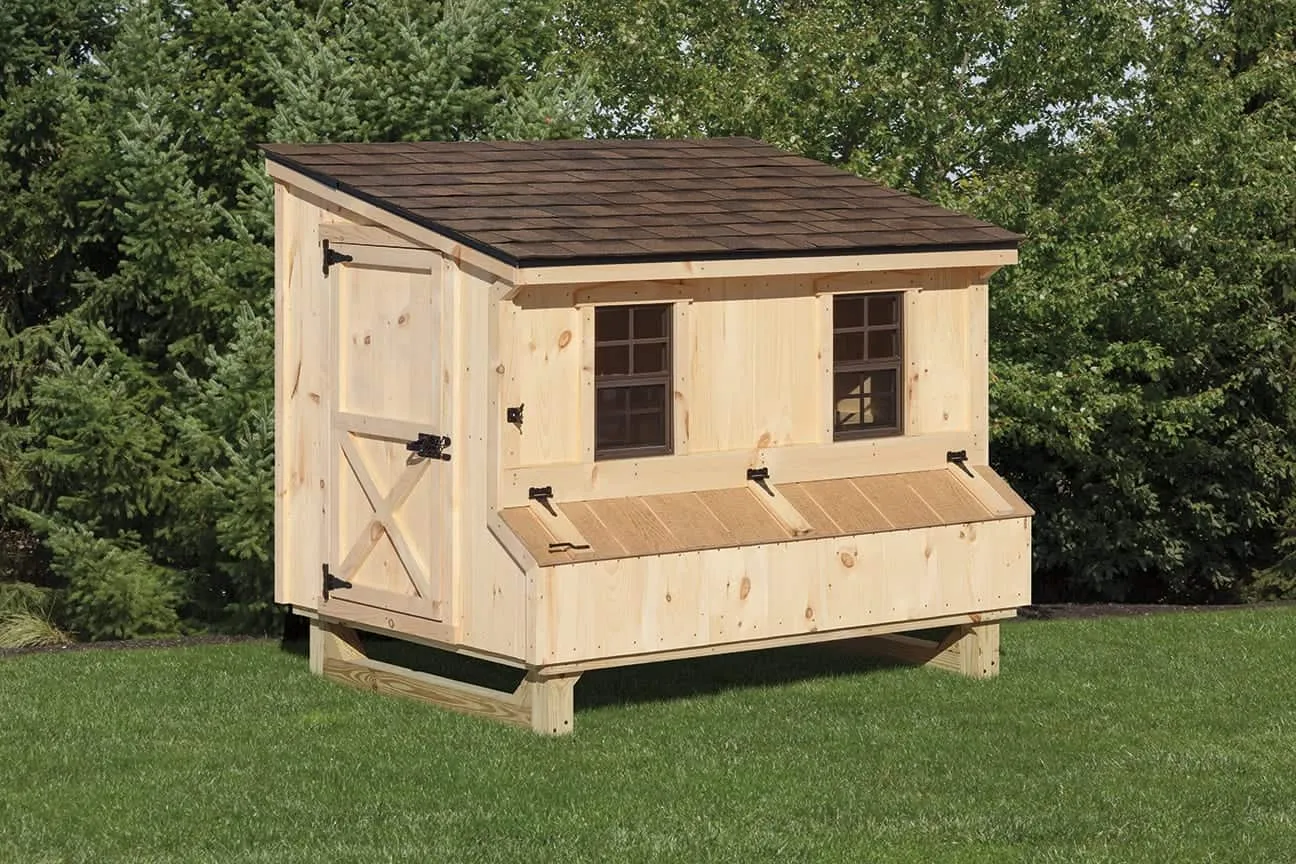
Nesting boxes are essential for laying hens, providing a private and comfortable place for them to lay eggs. Place nesting boxes in a quiet, dimly lit area of the coop. Provide one nesting box for every 3-4 hens. Line the boxes with soft bedding materials, such as straw, hay, or wood shavings. The nesting boxes should be easily accessible for egg collection. (chicken-coop-plans-nesting.webp)
Roosts
Roosts are essential for chickens to perch on at night. Place roosts at a comfortable height inside the coop, away from drafts. Ensure the roosts are wide enough for the chickens to comfortably perch without crowding. Provide several roosting options to accommodate all your chickens, usually allowing about 8-12 inches per bird. Choose materials that are easy to clean and maintain.
Ventilation
Proper ventilation is essential for maintaining a healthy environment inside the coop. Ventilation helps remove ammonia, moisture, and heat, preventing respiratory problems and disease. Provide vents near the roofline, allowing fresh air to circulate. Avoid drafts that can chill your chickens. Ensure the ventilation system is effective year-round, especially during hot and cold weather.
Maintenance and Upkeep
Regular maintenance and upkeep are necessary to keep your coop clean, safe, and in good condition. Routine tasks will prevent many problems and ensure the longevity of your coop, providing a healthy environment for your chickens.
Cleaning the Coop
Clean the coop regularly to prevent the buildup of waste and odors. Remove droppings, replace bedding, and clean the nesting boxes. The frequency of cleaning depends on the size of the coop and the number of chickens. A deep cleaning should be performed at least once a month. Use non-toxic cleaning products to avoid harming your chickens. Cleaning the coop regularly prevents diseases and maintains a healthy environment.
Pest Control
Implement measures to control pests, such as rodents, mites, and lice. Seal any cracks or openings in the coop to prevent rodents from entering. Regularly inspect your chickens for mites and lice, and treat them with appropriate products if necessary. Clean the coop to prevent pests and diseases. Regular pest control is important to protect your chickens’ health.
Winterizing Your Coop
Prepare your coop for cold weather to ensure your chickens stay warm and comfortable during the winter. Seal any drafts, and add insulation to the walls and roof if necessary. Provide extra bedding to help retain heat. Ensure that the ventilation system is working properly to prevent the buildup of moisture. Offer fresh water, as it can freeze in cold weather, and monitor the chickens’ health for any signs of stress. Winterizing ensures your chickens’ well-being during the cold months.
Building a chicken coop is a rewarding project that provides a safe and comfortable home for your flock. By following these chicken coop plans and guidelines, you can create a coop that meets your needs and ensures the health and happiness of your chickens. Remember to choose the right plans, carefully consider the materials, and follow the construction steps meticulously. With proper care and maintenance, your coop will provide years of service. Enjoy the process and the rewards of raising your own chickens!