Planning Your Large Chicken Coop
Building a large chicken coop is a rewarding project that provides your flock with a safe, comfortable, and healthy living space. Proper planning is the cornerstone of a successful coop build. This stage involves carefully considering the needs of your chickens, the available space, and your local climate. Thoughtful planning ensures that your coop meets all requirements while minimizing potential challenges during the construction and maintenance phases. Neglecting this vital step can lead to costly mistakes and an unsuitable environment for your birds. Investing time in the planning stages will save you time, money, and frustration down the line, resulting in a coop that you and your chickens will love.
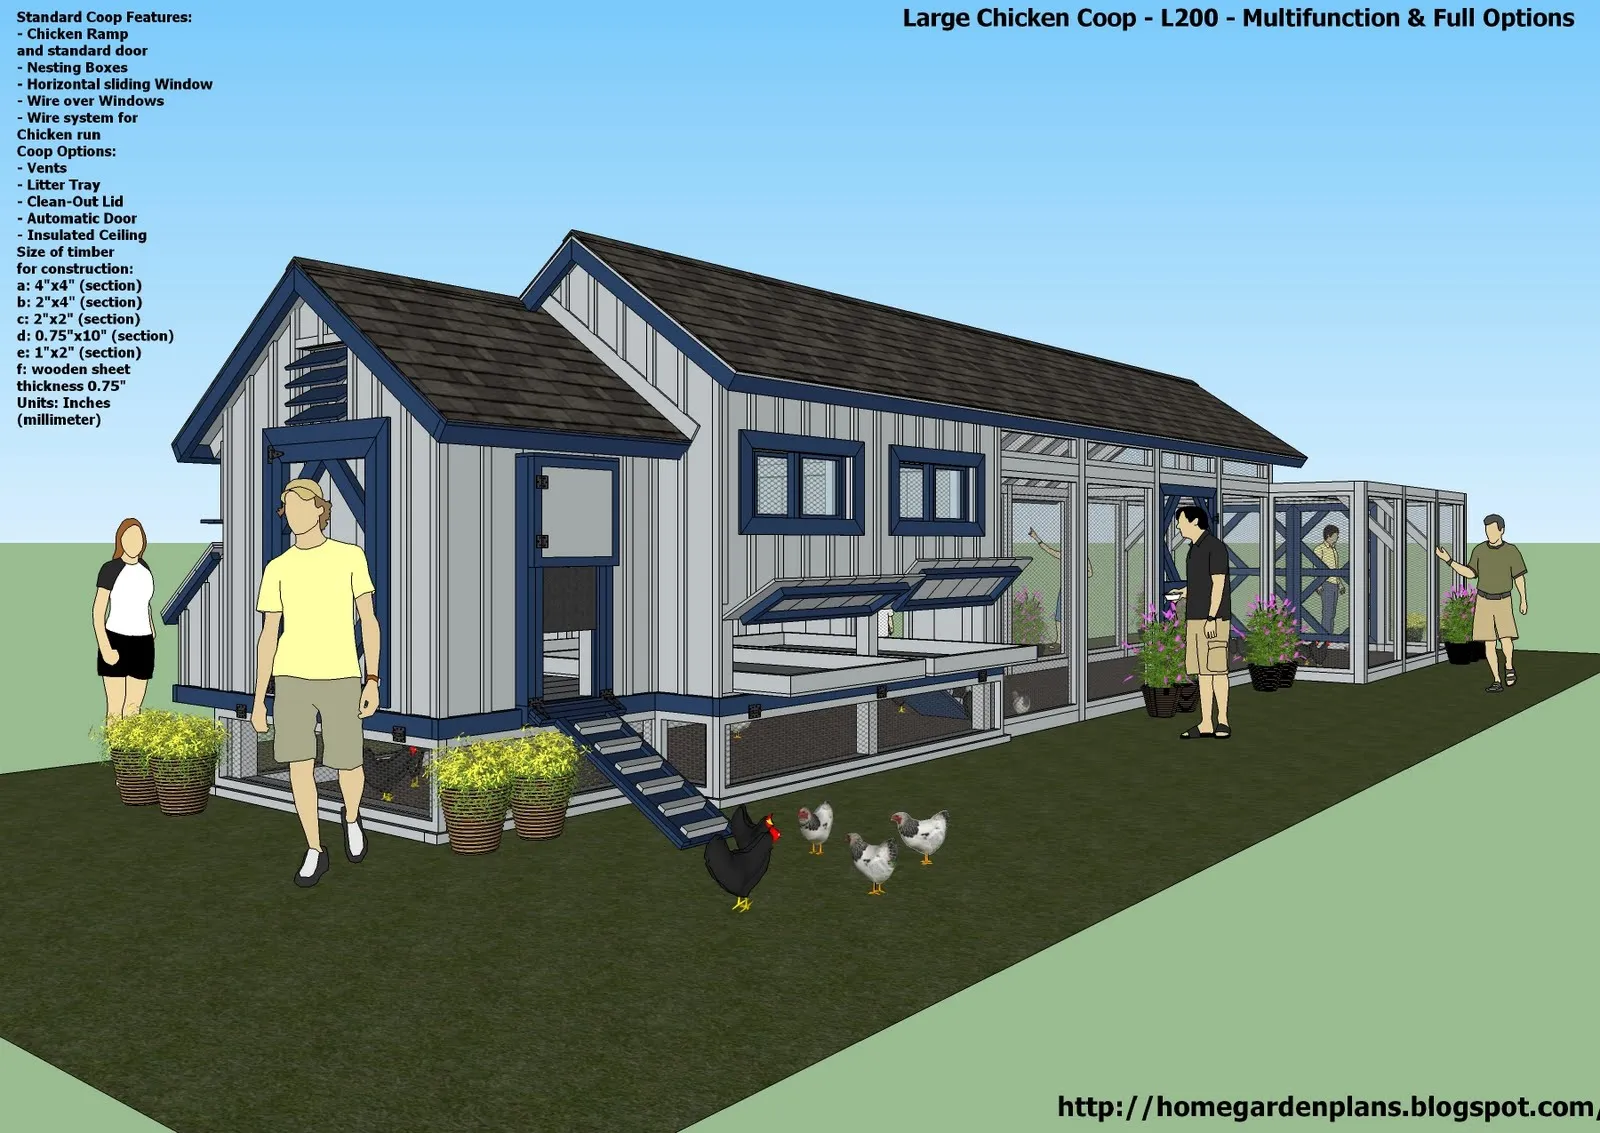
Determining Coop Size
The size of your chicken coop is crucial for the health and well-being of your flock. A coop that is too small can lead to overcrowding, stress, and the spread of diseases. On the other hand, a coop that’s too large can be more expensive to build and maintain. Therefore, finding the right balance is essential. It is recommended that you determine the dimensions of the chicken coop based on how many chickens you will be housing, so you have the right coop for your flock. Proper planning helps ensure that your birds have enough space to move around, roost, and nest comfortably.
Calculating Space Per Chicken

A general guideline is to provide at least 4 square feet of floor space per chicken inside the coop. This allows for adequate room for movement and prevents overcrowding. Consider the breed of chickens, as larger breeds may need even more space. In addition to floor space, ensure sufficient vertical space for chickens to move freely, roost, and stretch their wings. This prevents behavioral problems like feather pecking and promotes a healthier flock.
Considering Roosting and Nesting Areas
Roosting bars are essential for chickens, providing a place for them to sleep at night. Plan for at least 8-10 inches of roosting space per chicken. Nesting boxes are where hens lay their eggs, so ensure there is enough space. A common rule of thumb is one nesting box for every 3-4 hens. These boxes should be placed in a quiet, dimly lit area of the coop to encourage egg-laying.
Choosing the Right Location
The location of your coop significantly impacts the health and happiness of your chickens. Choose a location that is safe from predators, such as dogs, foxes, and other animals. Ensure the area is dry, well-drained, and sheltered from strong winds. The location should be easily accessible for daily chores like feeding, watering, and egg collection. Consider the direction of the prevailing winds and sunlight to maximize natural ventilation and minimize heat buildup. Careful placement will protect the flock and make coop maintenance more manageable.
Sunlight and Shade Considerations

Chickens need both sunlight and shade. Sunlight provides vitamin D and helps regulate their circadian rhythms. However, too much direct sunlight can lead to overheating, especially during summer. Provide shaded areas within the run or coop to allow the chickens to escape the heat. A combination of both will create a comfortable environment.
Accessibility and Convenience
Ensure that the location of your coop is easily accessible for you. You’ll be visiting the coop daily to collect eggs, feed and water the chickens, and clean the coop. A location that is convenient for you will make these tasks easier to manage. Consider proximity to your home, garden, and any other structures. Ensure access for tools, supplies, and potential maintenance or repairs.
Gathering Materials and Tools
Once you have a solid plan, the next step is gathering the necessary materials and tools. Accurate material estimates are crucial for efficient building and cost management. Make a detailed list of all required items, including wood, hardware, roofing materials, and any other components. Selecting high-quality materials will ensure the longevity and durability of your coop. Additionally, having the right tools will simplify the construction process. This includes everything from basic hand tools to power tools, which should be available before construction begins. Proper preparation prevents unnecessary delays and ensures the project runs smoothly.
Essential Building Supplies

The type of wood you use, the hardware, and the fasteners determine the quality and longevity of your coop. Using durable materials will help to ensure the safety and security of your chickens. Start with a list of the essential supplies, including wood for the frame, walls, roof, and run. Other necessary items include hardware like screws, nails, hinges, and latches, as well as roofing materials, wire mesh for the run, and any insulation you plan to use.
Wood Types and Their Benefits
Choosing the right type of wood is important for the durability and longevity of your coop. Untreated lumber is often used, though it may require regular maintenance. Cedar and redwood are popular choices due to their natural resistance to rot and insects. Pressure-treated wood is another option, especially for areas in contact with the ground. Consider your budget, local availability, and the specific needs of your project when choosing your wood type. Make sure to choose the right type of wood, and avoid any treated wood that might be harmful to the chickens.
Hardware and Fasteners
Hardware includes screws, nails, hinges, latches, and any other metal components. Stainless steel or galvanized hardware is recommended for its rust resistance and durability. Select fasteners that are appropriate for the type of wood you’re using and the construction methods. Make sure the hinges and latches are sturdy to keep predators out and ensure the safety of your chickens. These details might seem small but contribute significantly to the overall quality and lifespan of the coop.
Required Tools

A basic set of tools is necessary for building a chicken coop. You’ll need a measuring tape, level, saw (circular saw or hand saw), drill, screwdriver, hammer, and possibly a nail gun. Other useful tools include a staple gun for attaching wire mesh, safety glasses, and work gloves. Ensure that you have a suitable workspace with enough room to work on the coop. Prepare the tools for quick access during construction.
Construction Process
The construction process can be broken down into several key steps. Start with the frame and then move on to the walls, roof, doors, and windows. The best approach involves careful planning and attention to detail to ensure structural integrity and a safe environment. Before you start building, double-check your measurements and familiarize yourself with the plans. This will help you avoid costly mistakes and keep the project moving smoothly. Following the correct order of operations makes the construction process easier and more efficient.
Building the Coop Frame
The frame provides the structural support for the coop. Start by building the base, ensuring it is level and square. Next, construct the walls, connecting them to the base using appropriate fasteners. The frame should be sturdy enough to withstand the elements and the weight of the roof. Consider adding corner braces for added stability. Using precise measurements and carefully cutting the wood pieces will ensure that the frame is square and level.
Constructing the Walls and Roof

Once the frame is complete, you can start constructing the walls and roof. Attach the wall panels to the frame, ensuring they are flush and secure. Choose roofing materials that are weather-resistant and suitable for your climate. Install the roof, making sure there is proper overhang to protect the walls from rain. Consider adding insulation to the walls and roof to regulate the coop’s temperature. Make sure the roof is adequately sloped to allow for rainwater runoff.
Installing Doors and Windows
Doors and windows provide access to the coop for cleaning and ventilation. Install doors with sturdy hinges and latches to prevent predators from entering. Windows provide natural light and ventilation, so be sure to place them strategically. Consider using hardware cloth or wire mesh over the windows for added protection. Ensure that doors and windows close tightly to keep the chickens safe at night. Proper placement of doors and windows will make coop maintenance easier.
Creating a Secure Run
A secure run is an essential part of any chicken coop, providing a safe space for chickens to roam, forage, and exercise. The run should be designed to protect the chickens from predators while allowing them to enjoy the outdoors. It should be attached to the coop and constructed with durable materials. Proper planning is essential for both your chickens’ safety and ease of maintenance.
Run Design and Dimensions

The size of the run depends on the number of chickens you have and the available space. Provide at least 8-10 square feet of space per chicken in the run. Consider the shape and layout of the run to maximize the available space. A rectangular run is a common choice, but you can adapt it to fit your yard. Ensure that the run is enclosed on all sides and that the top is covered with wire mesh or another suitable material to prevent predators from entering.
Material Options for the Run
The run can be constructed using a variety of materials. Wood is a common choice for the frame, while wire mesh is used for the walls and roof. Use hardware cloth with small openings to keep predators out. Bury the wire mesh at least 12 inches underground to prevent animals from digging underneath. Other options include metal fencing or prefabricated run panels. Ensure that all materials are durable and weather-resistant.
Protecting Against Predators
Predator protection is the most critical aspect of run design. Use hardware cloth or strong wire mesh with small openings to prevent predators from entering the run. Bury the wire mesh at least 12 inches underground and extend it outward to create a ‘skirt’. Ensure that all doors and gates are securely latched. Consider using additional deterrents, such as motion-activated lights or electric fencing, to further protect your flock. Regular inspection of the run is essential to identify and address any vulnerabilities.
Finishing Touches and Features
Adding finishing touches and features to your coop enhances its functionality, comfort, and overall appearance. These features can range from simple improvements like adding nesting boxes and roosts to more complex elements like insulation and ventilation systems. These touches not only make the coop more appealing but also create a healthier and more comfortable environment for your chickens. Properly designed features make your coop a practical and user-friendly space.
Ventilation and Airflow
Proper ventilation is essential for maintaining a healthy environment inside the coop. Ventilation helps remove moisture, ammonia, and other harmful gases that can build up. Install vents at the top of the coop to allow for good airflow. Avoid placing vents directly over roosting areas to prevent drafts. Cross-ventilation, with vents on opposite sides of the coop, is ideal. Proper airflow is key to preventing respiratory problems and maintaining the coop’s cleanliness.
Insulation for Temperature Control
Insulation can help regulate the temperature inside the coop, keeping it cooler in the summer and warmer in the winter. Use insulation appropriate for your climate. Consider using materials like fiberglass, foam board, or recycled materials. Ensure the insulation is installed correctly to maximize its effectiveness. Insulation also helps to reduce condensation and maintain a more consistent internal environment, contributing to your chickens’ well-being.
Adding Nesting Boxes and Roosts
Nesting boxes and roosts are important features for your chickens. Provide one nesting box for every 3-4 hens. Place nesting boxes in a quiet, dimly lit area of the coop, away from drafts. Roosts should be placed at a comfortable height, allowing the chickens to easily access them. Ensure there is enough roosting space per chicken. Providing these features contributes to a comfortable and productive environment for your flock. These are essential for the chickens’ comfort and egg production.
Maintaining Your Coop
Regular maintenance is crucial for keeping your coop clean, safe, and in good condition. This includes cleaning and sanitation practices, as well as regular inspections to address any issues promptly. A well-maintained coop helps to prevent diseases, deters predators, and ensures the long-term health and happiness of your chickens. Prioritizing these tasks ensures a healthy environment.
Cleaning and Sanitation
Regular cleaning and sanitation are essential for preventing diseases. Remove droppings, soiled bedding, and any other waste materials regularly. Clean and disinfect the coop at least once a month, or more frequently if necessary. Use a poultry-safe disinfectant. Replace the bedding regularly with fresh, clean materials. Good hygiene is the key to a healthy flock. Effective cleaning and sanitation methods are essential for keeping your chickens healthy and safe.
Regular Inspections and Maintenance
Conduct regular inspections of your coop to identify any issues. Check for signs of wear and tear, damage, or pest infestations. Repair any damage promptly to prevent further problems. Inspect the coop for potential entry points for predators. Ensure all latches, hinges, and fasteners are secure. Regular maintenance, including painting or treating the wood as needed, will extend the life of your coop. Performing these simple maintenance tasks will prevent larger, more costly issues down the road.