Planning Your Chicken Coop Roof
Building a chicken coop roof is a crucial aspect of providing a safe, secure, and comfortable home for your flock. A well-constructed roof protects your chickens from the elements, including rain, snow, sun, and wind, while also deterring predators. This guide provides a comprehensive overview of how to build a strong and durable roof for your chicken coop, covering everything from planning and material selection to construction and weatherproofing. By following these steps, you can ensure your chickens have a secure and long-lasting shelter.
Assessing Your Coop’s Needs
Before you start, carefully assess your coop’s specific requirements. Consider the size of your coop and the number of chickens you plan to house, as this will influence the roof’s dimensions and the materials needed. Ensure the coop’s frame is structurally sound and can support the weight of the roof, especially when loaded with snow or other debris. Check for any existing damage or weaknesses in the coop structure that may affect the roof’s stability. Proper planning at this stage will prevent potential issues down the line.
Considering Location and Climate

The climate in your area significantly impacts the design and materials you choose for your chicken coop roof. In regions with heavy snowfall, a steeply pitched roof is essential to prevent snow accumulation and potential structural damage. In areas with high winds, consider materials and construction techniques that provide extra resistance. In hot climates, proper ventilation and light-colored roofing materials can help keep the coop cool. Think also about the coop’s location; is it exposed to direct sunlight, strong winds, or potential hazards like falling branches?
Choosing the Right Materials
Selecting the appropriate roofing materials is critical for the longevity and effectiveness of your chicken coop roof. Consider factors such as durability, cost, ease of installation, and aesthetics. The materials must also be safe for your chickens and resistant to predators. The following section will explore the popular options, helping you choose the best materials based on your needs and budget.
Understanding Roofing Material Options
Several roofing materials are suitable for chicken coops, each with its own advantages and disadvantages. When choosing materials, consider the climate in your area, the slope of your roof, and your budget. Durability, ease of installation, and the material’s ability to protect your chickens from the elements are also key factors. Let’s look at the popular choices.
Asphalt Shingles

Asphalt shingles are a popular choice for their affordability and ease of installation. They are readily available at most hardware stores and come in various colors and styles. However, asphalt shingles may not be the most durable option, especially in areas with extreme weather conditions. They require a roof with a sufficient slope to ensure proper water runoff and protect against leaks. Regular maintenance is necessary to check for and repair damaged shingles.
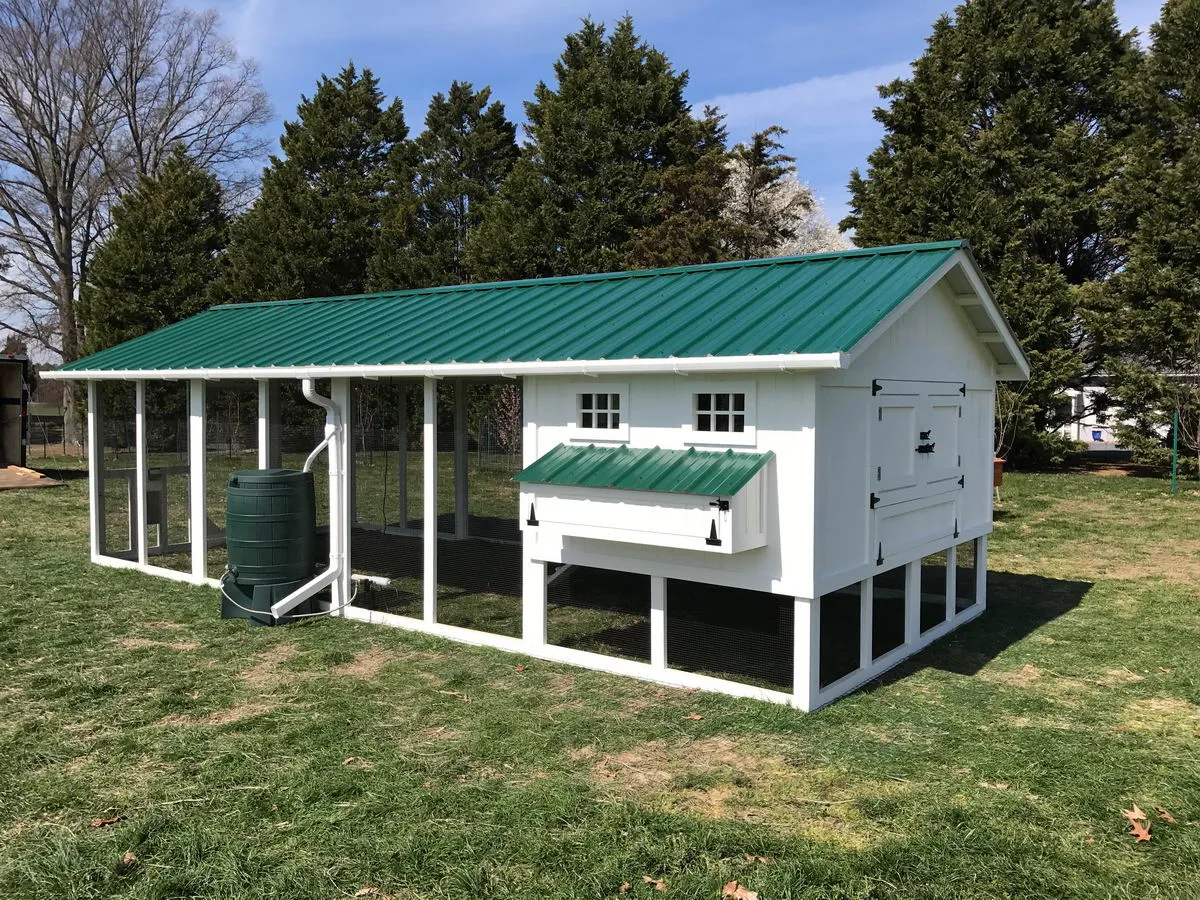
Metal Roofing
Metal roofing, including options like steel or aluminum, offers excellent durability and long-term performance. Metal roofs are resistant to fire, pests, and rot, making them a great choice for chicken coops. While they might have a higher upfront cost than asphalt shingles, they often last longer, potentially saving you money in the long run. Metal roofs are also effective at reflecting sunlight, which can help to keep your coop cooler during the summer months. Proper installation is vital to prevent leaks.
Wood Shingles
Wood shingles offer a rustic aesthetic and can blend well with a natural environment. They are a good insulator and can help regulate the temperature inside the coop. However, wood shingles require regular maintenance to prevent rot and insect damage. They can also be more susceptible to fire. Cedar and redwood are popular choices for wood shingles due to their natural resistance to decay.
Building the Roof Frame

A sturdy roof frame provides structural support for the roofing materials and ensures your chicken coop roof is weather-resistant. The frame should be designed to withstand the weight of the roofing material, snow accumulation, and wind. Proper framing is crucial for a long-lasting, safe roof. Always use pressure-treated lumber for any parts of the frame that will be in contact with the ground or exposed to moisture to prevent rot and insect infestation.
Constructing the Rafters
Rafters are the sloped beams that form the framework of your roof. Determine the correct rafter size and spacing based on the roof’s span, the weight of the roofing material, and the expected snow load in your area. Cut the rafters to the correct length and angle, and securely attach them to the top plate of your coop’s walls. Ensure all rafters are evenly spaced and aligned to create a level surface for the sheathing.
Sheathing the Roof
Sheathing, often made from plywood or oriented strand board (OSB), covers the rafters and provides a solid base for the roofing material. Cut the sheathing panels to fit the roof and attach them to the rafters with nails or screws. Ensure the sheathing is securely fastened and that there are no gaps between the panels to prevent water penetration. Overlap the edges of the sheathing panels slightly for a more watertight seal.
Installing the Roofing Material

The method of installing your roofing material will vary depending on the type you’ve chosen. Proper installation is critical to ensure the roof is watertight and can withstand the elements. Follow the manufacturer’s instructions carefully to ensure correct installation and warranty compliance. Take care when working at heights and ensure the roof is properly secured before proceeding.
Shingling Techniques
When installing asphalt shingles, start at the bottom edge of the roof and work your way up, overlapping the shingles to create a watertight seal. Use roofing nails to secure the shingles, following the manufacturer’s guidelines for nail placement. Ensure that the shingles are aligned and that the courses are straight. For the ridges, use ridge cap shingles, ensuring they are installed properly for adequate protection.
Metal Roofing Installation
Metal roofing typically comes in panels that are installed with screws. Start by aligning the first panel correctly and fastening it securely to the sheathing. Overlap the panels to create a weatherproof barrier, following the manufacturer’s instructions for overlap and fastener placement. Use appropriate screws designed for metal roofing and be careful not to over-tighten them. Proper installation is vital to prevent leaks and ensure long-term performance.
Ensuring Proper Ventilation

Proper ventilation is essential to maintain a healthy environment for your chickens. Good ventilation helps regulate the temperature inside the coop, reduces moisture buildup, and prevents the accumulation of harmful gases like ammonia. A well-ventilated coop helps prevent respiratory problems and improves the overall health of your flock.
Ventilation Importance
Poor ventilation can lead to a build-up of moisture, which encourages the growth of mold and mildew. It also traps ammonia, which can irritate the chickens’ respiratory systems. Excessive moisture can damage the coop structure and create an ideal environment for parasites and diseases. Proper ventilation improves air quality and keeps the coop fresh, thus crucial for the chickens’ health and comfort.
Ventilation Methods
Several ventilation methods can be used in a chicken coop. Ridge vents allow warm, moist air to escape at the top of the roof. Soffit vents provide fresh air intake along the eaves. You can also install vents in the walls. Ensure the ventilation system allows for adequate airflow without creating drafts that could chill your chickens. Choose a ventilation system that fits your coop’s size and your climate conditions.
Sealing and Weatherproofing the Roof

Sealing and weatherproofing your chicken coop roof is crucial for protecting your chickens from the elements and ensuring the longevity of your coop. Proper sealing prevents water from penetrating the roof, which can lead to leaks, rot, and structural damage. Weatherproofing protects the roof against wind, sun, and other weather-related wear and tear.
Applying Sealants and Caulk
Apply a high-quality sealant or caulk to all seams, joints, and around any penetrations, such as chimneys or vents. Use a sealant specifically designed for roofing applications to ensure durability and weather resistance. Follow the manufacturer’s instructions carefully when applying the sealant, and ensure that all areas are properly sealed to prevent water from entering the coop. Regularly inspect the sealant for damage and reapply as needed.
Weatherproofing around Chimneys and Vents
Areas around chimneys, vents, and other roof penetrations are especially vulnerable to leaks. Use flashing and sealant to create a watertight seal around these areas. Flashing is typically made of metal and is installed to direct water away from penetrations. Ensure the flashing is properly installed and that all seams are sealed with caulk. Regularly inspect these areas and repair any damage to prevent leaks.