Planning Your Chicken Coop Roof
Building a chicken coop roof is a crucial step in providing a safe, secure, and weather-resistant shelter for your flock. Proper planning ensures the roof not only protects your chickens from the elements but also contributes to the overall longevity and functionality of your coop. Before you begin, carefully consider factors such as the size of your coop, the local climate, and the aesthetic you desire. A well-planned roof will prevent water damage, regulate internal temperature, and deter predators. This guide provides a comprehensive overview of the steps involved, from design selection to material choice and installation, empowering you to build a durable and functional chicken coop roof.
Choosing the Right Roof Design
The design of your chicken coop roof significantly impacts its performance and appearance. Several designs are popular, each with its own set of advantages and disadvantages. Considerations should include your geographic location’s weather patterns, the overall aesthetic of your backyard, and the ease of construction and maintenance. Common roof styles range from simple shed roofs to more complex gable and gambrel designs. Choosing the right style involves balancing protection from the elements with your personal preferences and building skill level.
Gable Roof

A gable roof, characterized by its triangular shape, is a classic and popular choice for chicken coops. Its sloping sides allow for efficient shedding of rain and snow, preventing water accumulation and potential leaks. Gable roofs provide good ventilation if designed with a ridge vent. They are generally straightforward to build, making them a manageable option for DIY projects. However, the complexity of the roof can increase if your coop has a large footprint.
Shed Roof
The shed roof, also known as a lean-to roof, is the simplest design, consisting of a single sloping plane. This design is the easiest to construct, making it ideal for beginners. It is also economical, as it requires fewer materials. Shed roofs provide good protection from rain and are suitable for climates with moderate snowfall. However, they may not provide as much ventilation as other designs. Proper planning for adequate ventilation is necessary for the health of your flock.
Gambrel Roof
A gambrel roof features two slopes on each side, with the upper slope less steep than the lower one. This design offers increased headroom and attic space, which can be useful for ventilation or storage. While visually appealing, gambrel roofs are more complex to build than gable or shed roofs. Their unique structure may require more precise measurements and cuts. This design can be an attractive option for larger coops, providing a traditional aesthetic.
Selecting Roof Materials

The material you choose for your chicken coop roof is critical to its durability, longevity, and overall performance. Several materials are suitable, each with different characteristics in terms of cost, lifespan, weather resistance, and aesthetics. When making your selection, consider the local climate and the potential for extreme weather conditions like heavy rain, snow, or intense sunlight. The best choice will offer a balance between these factors, ensuring that your coop effectively protects your chickens for years to come.
Asphalt Shingles
Asphalt shingles are a popular and cost-effective roofing material. They are readily available, easy to install, and come in various colors and styles. Asphalt shingles provide good water resistance and are relatively lightweight. However, they have a shorter lifespan than some other materials, and they can be prone to damage from strong winds and heavy snowfall. Regular inspections and maintenance are necessary to ensure their continued effectiveness, especially in areas with harsh weather. Ensure proper ventilation underneath the shingles to prevent moisture buildup and extend their lifespan.
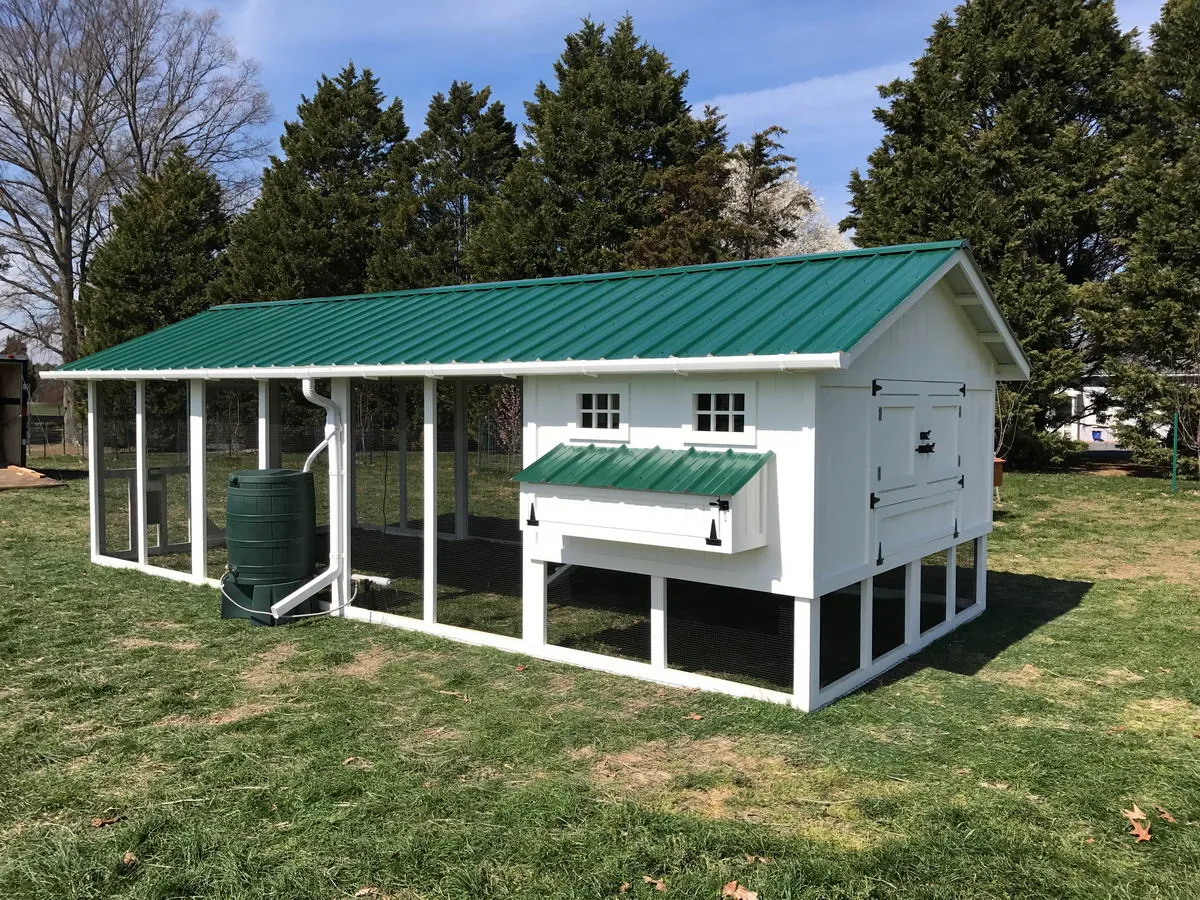
Metal Roofing
Metal roofing, including steel and aluminum, offers superior durability and longevity. Metal roofs are exceptionally resistant to the elements, including rain, snow, and fire. They reflect sunlight, which can help to regulate the temperature inside the coop. While more expensive upfront than asphalt shingles, metal roofing often has a longer lifespan and requires less maintenance. Consider the noise factor during heavy rain. Metal roofing provides an excellent long-term investment for your chicken coop, ensuring reliable protection for your flock.
Wood Shingles

Wood shingles, such as cedar shakes, offer a natural and aesthetically pleasing appearance. They provide good insulation and can add charm to your chicken coop. Wood shingles are durable but require regular maintenance, including treatment with preservatives to prevent rot and insect damage. Wood shingles are also more susceptible to fire than other materials, so it’s essential to adhere to fire safety regulations and take precautions. They offer a classic look but demand a higher level of upkeep to maintain their performance and appearance.
Building the Roof Frame
Constructing a sturdy roof frame is essential for supporting the roofing material and providing structural integrity to your chicken coop. The framing process involves careful measurement, cutting, and assembly of rafters, which are the angled supports that form the roof’s slope. Accurate measurements and precise cuts are crucial for a well-fitting and stable roof. Using quality lumber and proper construction techniques will ensure that your coop can withstand wind, snow, and other environmental stresses. Proper framing lays the foundation for a safe and long-lasting chicken coop.
Measuring and Cutting the Rafters
Accurate measurement and cutting of the rafters are critical steps in the roof framing process. Begin by determining the length and angle of the rafters, based on your chosen roof design and the dimensions of your coop. Use a rafter square to ensure accurate cuts. Mark each rafter precisely before cutting to avoid errors. Using a saw designed for cutting lumber makes the process easier and more precise. Double-check all measurements and cuts before assembly to ensure everything fits correctly. Proper measurement and cutting set the stage for a well-constructed and structurally sound roof frame.
Attaching the Rafters

Once the rafters are cut, they must be securely attached to the coop’s frame. This typically involves using nails, screws, and possibly metal connectors. Position the rafters according to your roof design, ensuring consistent spacing and alignment. Use a level to verify that the rafters are plumb. Fasten the rafters to the top plates and any other supporting structures. Ensure that the connections are strong and secure. Properly attaching the rafters is essential for creating a solid and stable roof frame capable of withstanding wind and weather.
Sheathing the Roof
Sheathing involves covering the roof frame with a solid surface, typically plywood or oriented strand board (OSB). The sheathing provides a base for the roofing material, adding rigidity and weather resistance. Cut the sheathing panels to fit the roof frame, leaving a slight overhang at the edges. Attach the sheathing securely to the rafters using nails or screws. The sheathing creates a continuous surface that will protect the underlying structure from moisture and provide a stable base for the roofing material. Careful installation of the sheathing helps ensure the roof’s longevity.
Installing the Roofing Material
After the roof frame is constructed and sheathed, the next step is to install the roofing material. This involves attaching the chosen material to the sheathing according to the manufacturer’s instructions. Proper installation is critical for ensuring that the roof is watertight and durable. The specific steps will vary depending on the type of roofing material selected, whether it’s asphalt shingles, metal panels, or wood shakes. Following the manufacturer’s instructions, paying attention to details, and using the correct tools are essential for a successful installation.
Shingle Installation

Installing asphalt shingles involves overlapping the shingles and securing them to the sheathing with nails. Start at the bottom of the roof and work your way up, ensuring each course of shingles overlaps the previous one. Follow the manufacturer’s instructions for spacing and nail placement. Properly aligning the shingles and ensuring that they are securely fastened is crucial for preventing leaks and ensuring the roof’s longevity. Careful shingle installation will provide a watertight and aesthetically pleasing roof for your chicken coop.
Metal Roofing Installation
Metal roofing installation typically involves attaching the metal panels to the sheathing using screws designed for metal roofing. Start by aligning the first panel correctly and ensure that it is straight. Overlap the panels as recommended by the manufacturer and fasten them securely. Proper alignment and secure fastening are essential to prevent leaks and ensure that the roof withstands wind and weather. Use the appropriate tools and follow the manufacturer’s instructions carefully for a successful metal roofing installation. Metal roofs provide excellent protection and durability for your chicken coop.
Finishing Touches & Ventilation
After installing the roofing material, several finishing touches are essential for completing the roof and ensuring its long-term performance. These include installing a ridge vent and ensuring proper overhang and drip edge. Adequate ventilation is crucial for preventing moisture buildup and extending the roof’s lifespan. The finishing touches add to the roof’s functionality, enhancing its ability to protect the coop and maintain a healthy environment for your chickens.
Ridge Vent Installation

Installing a ridge vent allows for the release of heat and moisture from the coop, preventing condensation and ensuring proper air circulation. Install the ridge vent along the peak of the roof, following the manufacturer’s instructions. This helps to prevent moisture buildup and maintain a comfortable environment for your chickens. Ventilation is critical for the health and well-being of your flock, and a properly installed ridge vent ensures that the coop breathes properly.
Overhang and Drip Edge
The overhang provides protection to the coop’s walls, preventing water from running down the sides. The drip edge, installed at the edges of the roof, directs water away from the coop. Properly installing the overhang and drip edge is crucial for preventing water damage and prolonging the life of your coop. These simple additions offer essential protection and contribute to the roof’s overall performance. Ensure that the overhang and drip edge are correctly installed to keep your coop dry and well-protected.
Roof Maintenance
Regular maintenance is essential for extending the lifespan of your chicken coop roof and ensuring its continued effectiveness. Periodically inspect your roof for any signs of damage, such as missing shingles, leaks, or other issues. Promptly address any problems to prevent further damage. Clean your roof of debris, such as leaves and branches, to prevent water buildup and maintain good drainage. Regular maintenance will help you keep your chicken coop roof in excellent condition for many years. Proper care ensures that the roof effectively protects your flock from the elements.
Building a chicken coop roof is a rewarding project that requires careful planning, attention to detail, and the right materials. By following these steps, you can build a durable and functional roof that will protect your chickens and provide them with a safe and comfortable home. Remember to always prioritize safety, follow local building codes, and take your time to ensure a successful outcome. A well-built roof is an investment in the well-being of your flock and the longevity of your chicken coop.