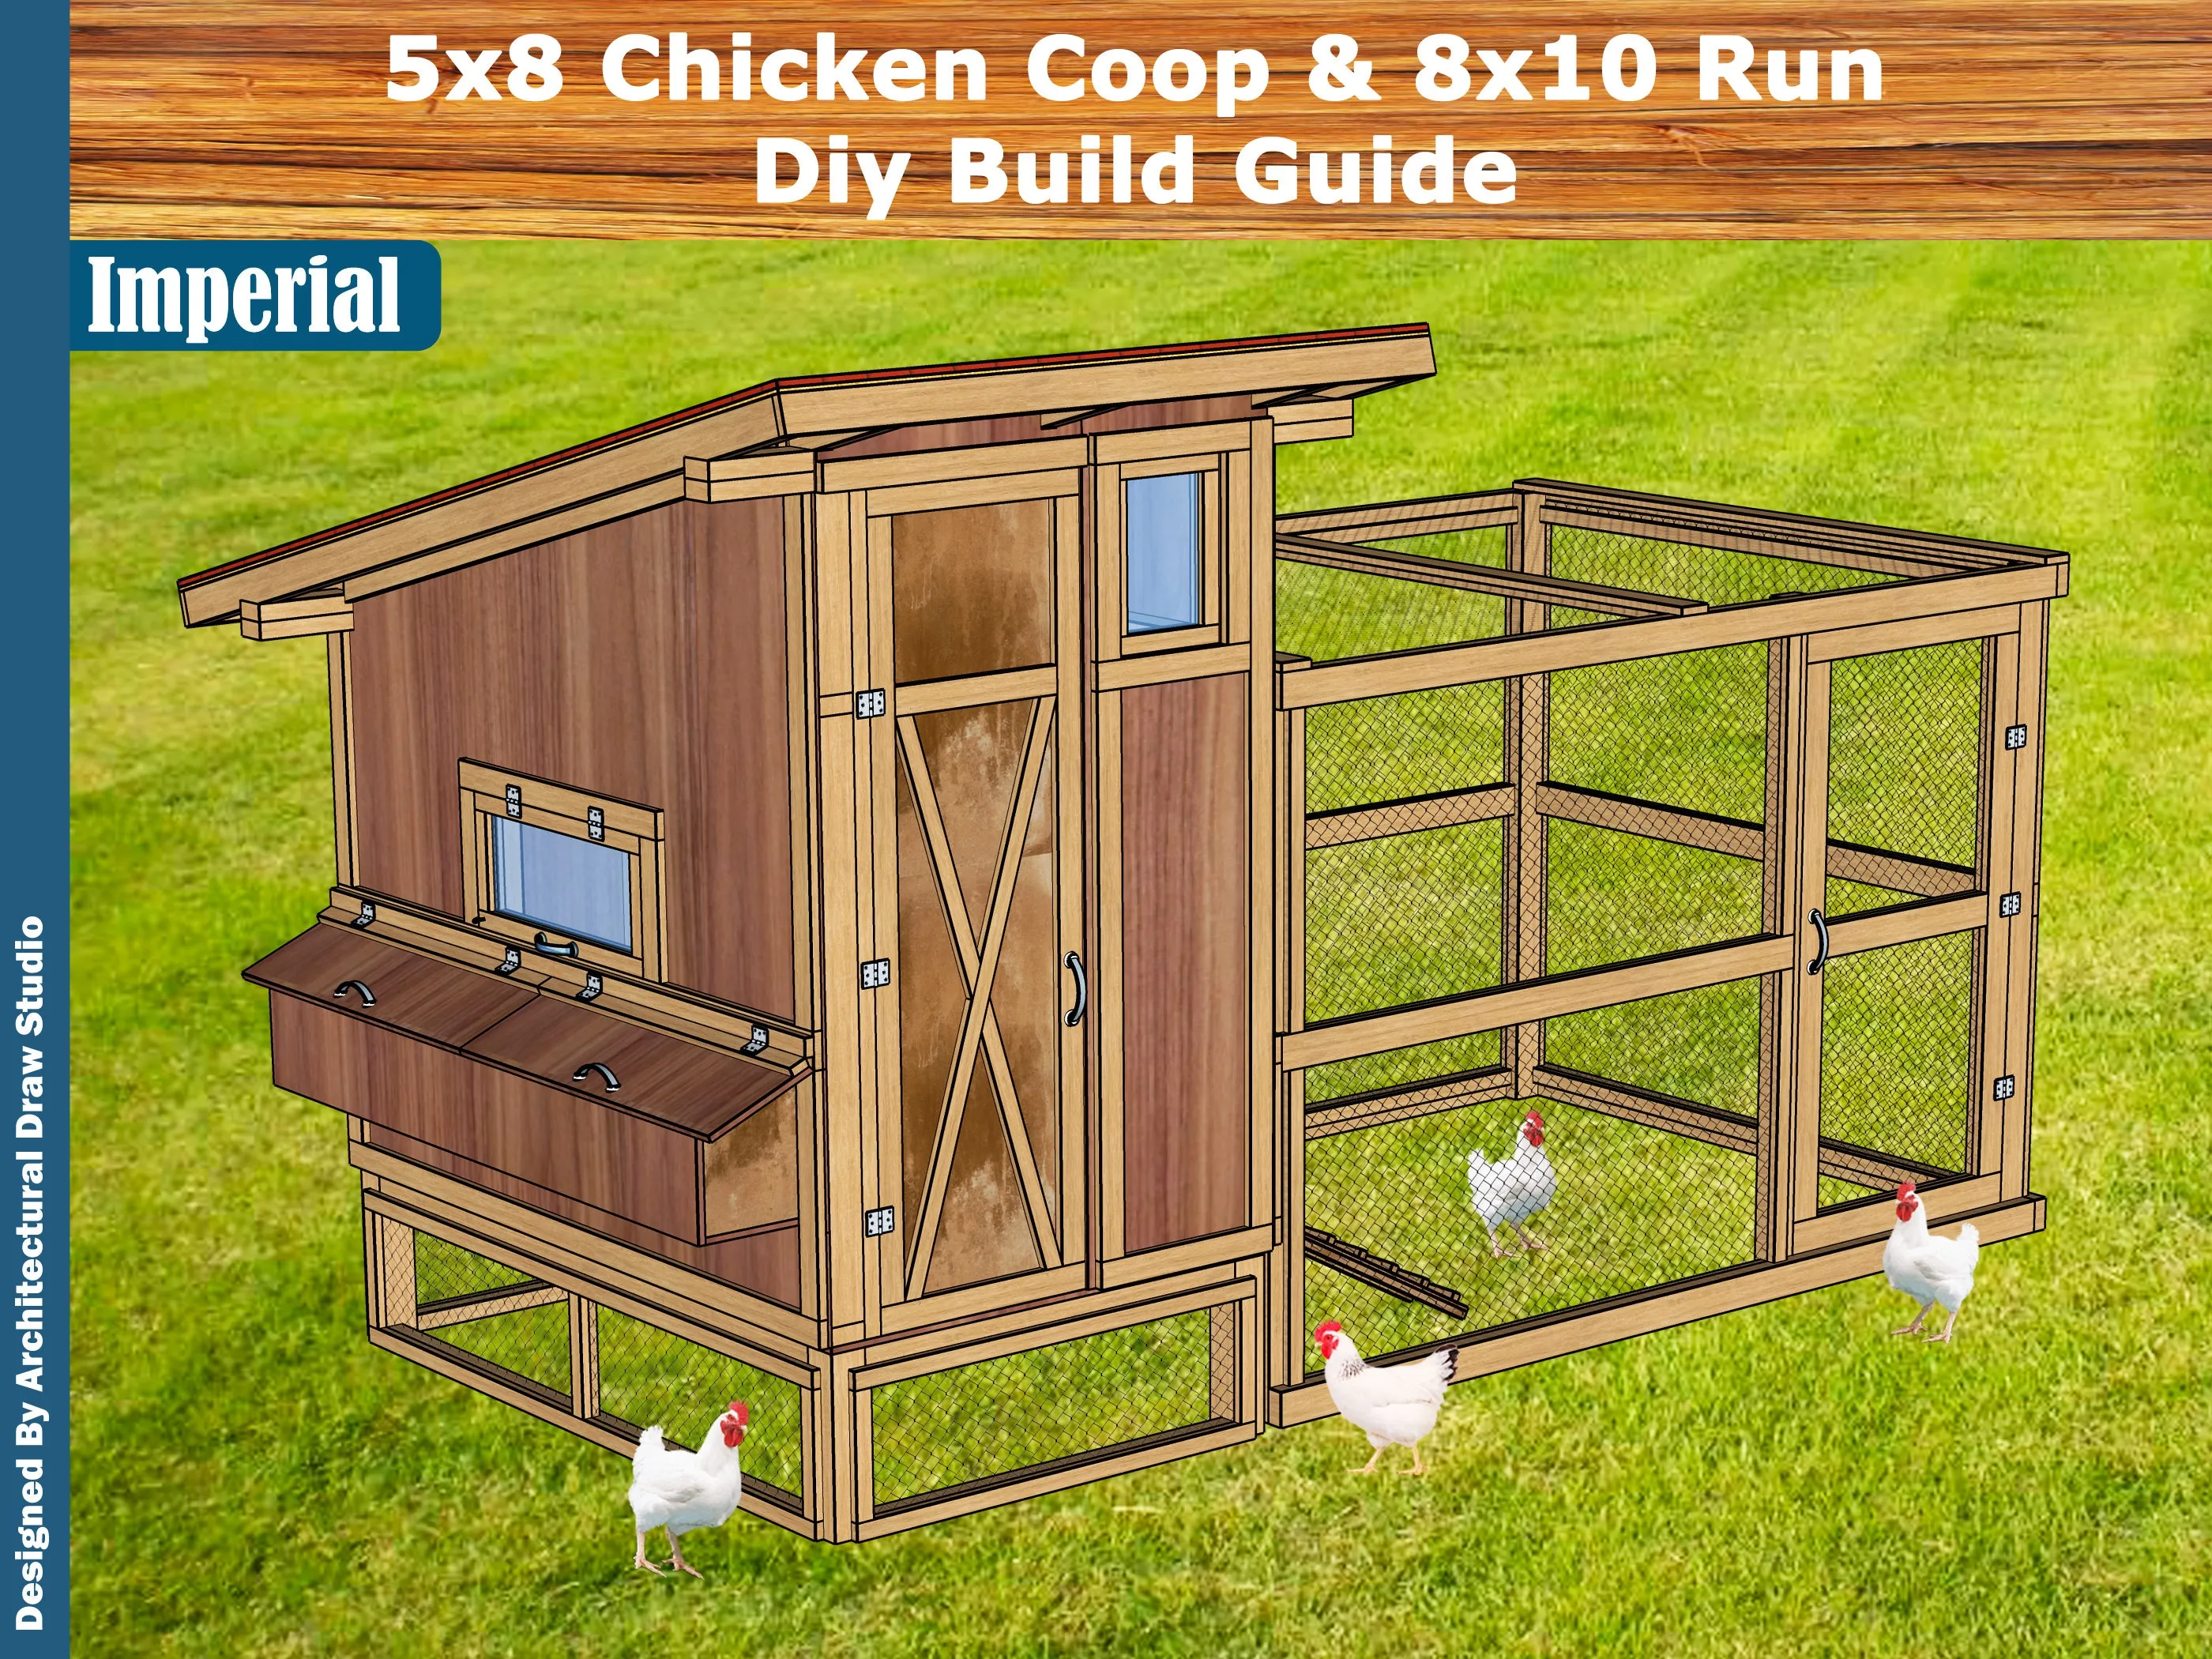
Building your own DIY chicken coop can be a rewarding project, offering fresh eggs and the joy of raising chickens in your backyard. This guide breaks down the process into 5 manageable steps, making it easy for both beginners and experienced DIYers to create a secure and comfortable home for their feathered friends. With careful planning and execution, you can build a coop that not only meets your chickens’ needs but also complements your outdoor space.
Planning Your DIY Chicken Coop
Before you even think about picking up a hammer, meticulous planning is crucial. This initial step ensures that your DIY chicken coop is built to last, meets local regulations, and provides a safe and comfortable environment for your chickens. Proper planning helps prevent costly mistakes and streamlines the building process, ultimately saving you time and effort.
Choosing the Right Location
The location of your chicken coop is paramount. Consider factors such as sunlight, shade, and accessibility when choosing the ideal spot. You want a location that is relatively flat, well-drained, and away from potential hazards. Avoid areas prone to flooding or strong winds, as these can compromise the coop’s structural integrity and the chickens’ safety.
Assessing Your Backyard Space

Take a good look at your backyard. Measure the available space and consider the size of the coop and run you intend to build. Ensure there’s enough room for the chickens to roam comfortably and for you to easily access the coop for cleaning and maintenance. Check for any obstacles like trees, power lines, or underground utilities that could interfere with construction.
Considering Sunlight and Shade
Chickens need both sunlight and shade. The coop should receive some sunlight, especially during colder months, but also have shaded areas to escape the heat in summer. Consider the path of the sun throughout the day and the placement of trees or other structures that can provide shade. Adequate ventilation is also crucial to prevent overheating.
Selecting Your Chicken Coop Design
Choosing the right design is essential for the functionality and aesthetics of your DIY chicken coop. There are numerous designs available online, from simple A-frame coops to more elaborate structures. Consider your skill level, the number of chickens you plan to keep, and the local climate when making your selection. A well-designed coop will protect your chickens from the elements and predators.
Choosing a Suitable Coop Size

The size of your coop depends on the number of chickens you intend to house. A general rule of thumb is to allow at least 4 square feet of floor space per chicken inside the coop and 8-10 square feet per chicken in the run. Overcrowding can lead to stress, disease, and reduced egg production. Plan for future expansion if you anticipate adding more chickens.
Deciding on Coop Style and Materials
Coop styles range from basic to elaborate. Consider the materials that are readily available and affordable in your area. Wood is a popular choice, providing good insulation and ease of construction. Ensure the materials are durable and weather-resistant. Common materials include wood, metal, and hardware cloth for the run. Think about the aesthetic appeal and how it will integrate into your backyard landscape.
Gathering Your DIY Chicken Coop Materials
Once you have a design, gather all the necessary materials. This involves creating a detailed list of everything you’ll need, from lumber and hardware to roofing materials and ventilation components. Taking the time to properly source your materials can save you money and ensure the project runs smoothly.
Essential Tools and Equipment

Make sure you have the right tools before you begin. A basic toolkit should include a saw (circular saw or handsaw), drill, hammer, measuring tape, level, and safety glasses. Depending on your design, you may need additional tools such as a nail gun, staple gun, and a post hole digger. Consider renting tools you don’t own to save money.
Sourcing Lumber and Hardware
Choose durable, weather-resistant lumber, such as cedar or pressure-treated wood. Purchase screws, nails, hinges, latches, and other hardware from a reputable supplier. Make sure to get hardware cloth for the run to keep predators out and to provide proper ventilation. Buy extra materials to account for mistakes and unforeseen issues.
Creating a Materials List
Create a detailed materials list, specifying the type and quantity of each item. This list will guide you through the shopping process and prevent you from forgetting essential components. Include lumber dimensions, hardware types, and any other necessary details. A well-organized list minimizes waste and saves time during construction.
Constructing the Chicken Coop

The construction phase is where your planning comes to life. Follow your chosen design plan meticulously, paying attention to measurements, angles, and connections. Safety should be a top priority, so always wear appropriate safety gear and work in a well-ventilated area.
Building the Coop Frame
Start by building the frame of your coop. This forms the structural foundation. Ensure all corners are square and the frame is level. Use screws for a stronger and more durable construction. The frame’s integrity will determine the coop’s longevity.
Assembling the Walls and Roof
Attach the walls to the frame, ensuring they are securely fastened. Install the roof, making sure it slopes adequately to shed rain and snow. Use roofing materials suitable for the climate in your area, such as shingles or metal panels. Proper sealing will protect your coop from the weather.
Installing Windows and Doors

Install windows for natural light and ventilation. Doors should be sturdy and easy to open and close. Secure doors with latches that predators cannot open. Consider using hardware cloth to cover windows and vents for added security and protection.
Adding Ventilation and Security Features
Proper ventilation is essential to prevent moisture buildup and maintain air quality. Install vents in the roof and walls. Secure the coop against predators by using hardware cloth and sturdy latches. Bury the hardware cloth around the perimeter of the run to prevent digging predators.
Finishing Touches and Coop Setup
Once the basic structure is complete, focus on the finishing touches. These include the chicken run, nesting boxes, roosts, and other features that will make your coop comfortable and functional.
Adding the Chicken Run

Build a secure chicken run attached to the coop. Use hardware cloth for the walls and roof to keep predators out. The run provides a safe outdoor space for your chickens to roam and forage. The run should be large enough to accommodate your chickens and provide them with ample space.
Providing Nesting Boxes and Roosts
Install nesting boxes in a secluded area within the coop. Provide one nesting box for every 3-4 hens. Install roosting bars at a comfortable height where the chickens can perch at night. Ensure the roosting bars are made of smooth wood for comfort.
Creating a Comfortable Environment
Add bedding materials, such as straw or wood shavings, to the coop floor and nesting boxes. Provide water and food containers in a convenient location. Ensure the coop is clean, dry, and well-ventilated to provide a comfortable and healthy environment for your chickens.
Maintaining Your DIY Chicken Coop
Regular maintenance is essential for the long-term health and well-being of your chickens and the durability of your coop. Consistent upkeep helps prevent disease and keeps your chickens happy and productive.
Regular Cleaning and Maintenance
Clean the coop regularly, removing droppings and soiled bedding. Replace bedding materials frequently to maintain a clean and dry environment. Inspect the coop for any damage and make repairs promptly. Regularly check and clean the water and food containers.
Protecting Against Predators
Implement measures to protect your chickens from predators. Secure all openings with hardware cloth, bury hardware cloth around the run, and ensure latches are predator-proof. Regularly inspect the coop and run for any signs of damage that could allow predators access.
Troubleshooting Common Issues
Be prepared to address common issues such as pests, diseases, and behavioral problems. Research common chicken health problems and have a plan for dealing with them. Contact a veterinarian or local poultry expert for advice and assistance. Regular observation of your chickens will help you identify and address any problems quickly.
Building a DIY chicken coop is a rewarding experience that combines craftsmanship with the joy of raising chickens. By following these 5 steps, you can create a safe, comfortable, and attractive home for your flock. Remember, thorough planning, quality materials, and consistent maintenance are the keys to success. Enjoy the process and the fresh eggs that will soon be on your table!