Building a chicken coop can be a rewarding project, providing your backyard chickens with a safe and comfortable home. This step-by-step guide will walk you through the entire process, from planning and gathering materials to constructing and maintaining your own coop. Whether you’re a seasoned DIY enthusiast or a beginner, these instructions will help you create a functional and attractive chicken coop that meets your flock’s needs.
Planning Your Chicken Coop
Careful planning is the foundation of a successful chicken coop project. Before you even think about picking up a hammer, take the time to consider several key factors. This initial stage ensures your coop meets your chickens’ needs, complies with local regulations, and fits seamlessly into your backyard.
Determining Coop Size
The size of your chicken coop should be determined by the number of chickens you plan to keep. As a general rule, provide at least 4 square feet of floor space per chicken inside the coop. For the chicken run, aim for a minimum of 8 square feet per chicken. Consider that larger breeds will require more space, so adjust your calculations accordingly.
Factors to Consider

Think about expansion; will you want more chickens in the future? This affects coop size. Also, consider local regulations about coop size and placement to avoid issues later. These factors will help you avoid future problems.
Choosing the Right Location
Choosing the right location for your chicken coop is crucial for the health and well-being of your chickens. It should be a balance of convenience for you and comfort for your birds. Consider factors like proximity to your home, access to water and electricity, and the surrounding environment.
Sunlight and Shade
Ensure the coop receives a mix of sunlight and shade. Chickens need sunlight for vitamin D production, but excessive sun exposure can lead to overheating. The ideal location will offer both sunny areas for warmth and shaded spots for relief during hot days. Trees or strategically placed shade cloth can help regulate the coop’s temperature.
Predator Protection

Protecting your chickens from predators is paramount. Choose a location that minimizes potential threats. Avoid areas near dense bushes or trees where predators can hide. Consider adding fencing around the coop and run, burying it several inches underground to prevent digging predators from entering.
Gathering Materials
Once you’ve finalized your plan, gather all the necessary materials. A well-stocked supply ensures a smooth and efficient construction process. Make a detailed list based on your coop design and always overestimate slightly to account for waste or unforeseen needs. A carefully curated selection of supplies is essential for a durable and attractive chicken coop.
Essential Tools
The tools you’ll need include a saw (circular saw or hand saw), a drill with various bits, a hammer, a measuring tape, a level, a staple gun (for attaching wire mesh), and safety glasses. Also, a shovel for ground preparation, and a post-hole digger if you plan to build a more permanent run. Good-quality tools make the process safer and more efficient.
Wood Types

Choose rot-resistant wood like cedar or redwood for the coop’s frame and exterior. Pressure-treated lumber is an option, especially for ground contact, but ensure it’s safe for chickens (avoiding arsenic-treated wood). For the interior, plywood or oriented strand board (OSB) can be used for walls and flooring. Avoid using materials that could splinter or pose a hazard to your chickens.
Step-by-Step Construction
With your plan and materials ready, it’s time to start construction. Follow these steps to build a sturdy and secure coop for your chickens.
Building the Frame
Start by constructing the frame of the coop. Cut the lumber according to your plans and assemble the frame using screws and nails. Ensure the frame is square and level. Proper framing provides the structural support for the rest of the coop. Consider adding corner bracing to strengthen the frame.
Constructing the Walls

Once the frame is complete, attach the walls. Use plywood or OSB panels, cutting them to fit the frame. Secure the panels using nails or screws. Ensure the walls are tightly fitted to protect against the elements and potential predators. Make sure the walls are sturdy and weather-resistant.
Installing the Roof
Build the roof frame and attach the roofing material. Consider using asphalt shingles, corrugated metal, or other weather-resistant options. Ensure the roof slopes to allow for proper water drainage, preventing leaks. Overhang the roof slightly to protect the walls from rain.
Adding Doors and Windows
Install doors and windows, making sure they are secure and easy to operate. The door should be large enough for you to access the coop for cleaning and maintenance. Windows provide ventilation and natural light, but they must be covered with wire mesh to prevent predators from entering.
Creating the Chicken Run

A chicken run provides your chickens with a safe outdoor space to roam and forage. The run should be connected to the coop, allowing the chickens to move freely between the two areas. It’s an essential part of the coop setup, ensuring the chickens’ safety and well-being.
Securing the Run
Construct the run using sturdy posts and wire mesh. Bury the wire mesh several inches underground to prevent digging predators from entering. Ensure the mesh is securely attached to the posts. The height of the run should be high enough to prevent chickens from escaping and to deter predators from jumping over.
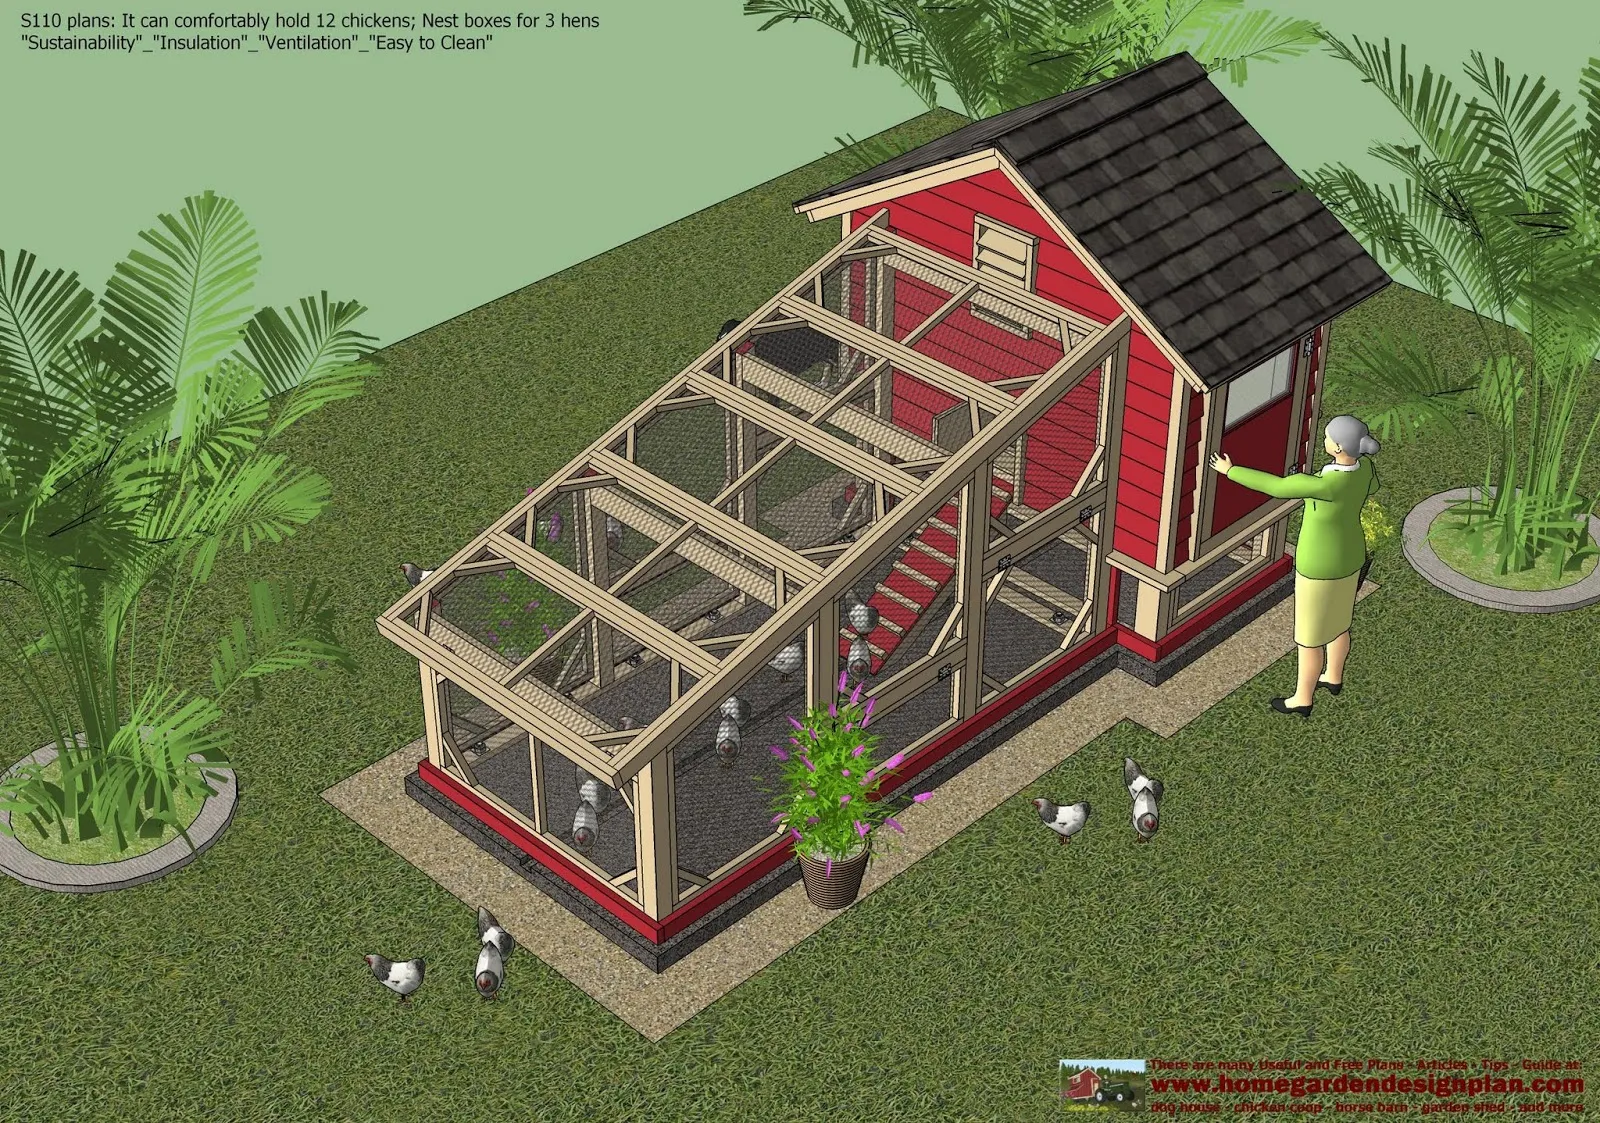
Adding Interior Features
The interior of your chicken coop should provide comfort, safety, and functionality for your chickens. Key features include roosting bars, nesting boxes, and adequate ventilation. These elements enhance the chickens’ well-being and ensure a productive environment.
Roosting Bars

Install roosting bars at a comfortable height for your chickens. Provide enough space for all chickens to roost comfortably. The bars should be made of smooth, rounded wood to prevent foot injuries. Place the bars away from the nesting boxes to avoid droppings inside the boxes.
Nesting Boxes
Provide one nesting box for every 3-4 hens. Place the nesting boxes in a dark, secluded area of the coop. Line the boxes with comfortable bedding material such as straw or wood shavings. Ensure the boxes are easy to access for egg collection.
Ventilation and Airflow
Proper ventilation is critical for maintaining a healthy environment inside the coop. Adequate airflow helps to remove moisture, ammonia, and other odors, preventing respiratory problems and ensuring the chickens’ comfort.
Ensuring Good Ventilation

Install vents near the roof to allow air circulation. Avoid placing vents directly above roosting bars, as this can lead to drafts. Ensure there are no drafts at chicken level. You can also use a vent fan for better air circulation. Combine ventilation with a well-designed coop layout for optimal air quality.
Maintaining Your Coop
Regular maintenance is crucial for keeping your chicken coop clean, safe, and in good condition. A well-maintained coop protects your chickens from diseases and ensures their long-term health and productivity. Regular cleaning and minor repairs will significantly extend the life of your coop.
Cleaning and Maintenance
Clean the coop regularly, removing droppings and soiled bedding. Replace the bedding frequently, ideally weekly or more often, depending on the size of your flock. Regularly inspect the coop for any signs of damage or wear and make necessary repairs promptly. This includes checking for leaks, loose boards, or damaged wire mesh.
By following these steps, you can successfully build a chicken coop that provides a safe, comfortable, and functional home for your chickens. With a bit of planning, effort, and attention to detail, you can create a coop that enhances your backyard and brings the joy of raising chickens to your life.